Here's how we crafted my car for the 2013 Pinewood Derby and pictures from race day!
We started with a block of pine wood, flat on all sides. We drilled-out wheel wells and began to carve the front end.
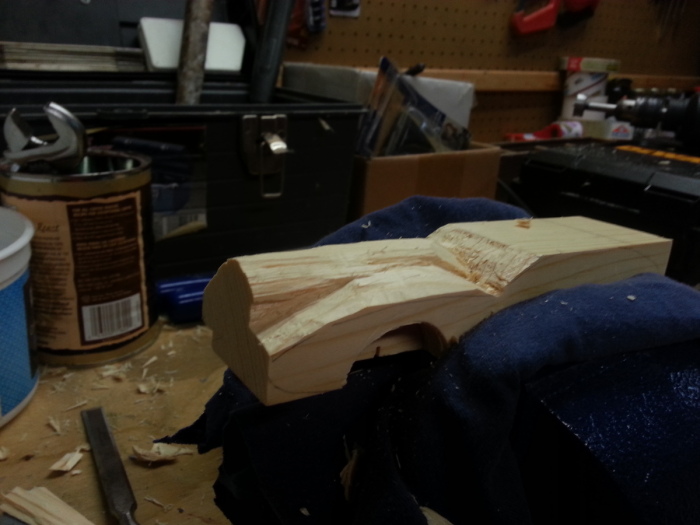
Once we had the top, we started on the bottom front. What Daddy didn't realize is that the wheels had to be a minimum width apart and inside the wheel wells they would be too close together. After that, he started to read the directions (no surprise there!) So, much to my dismay, we started over.
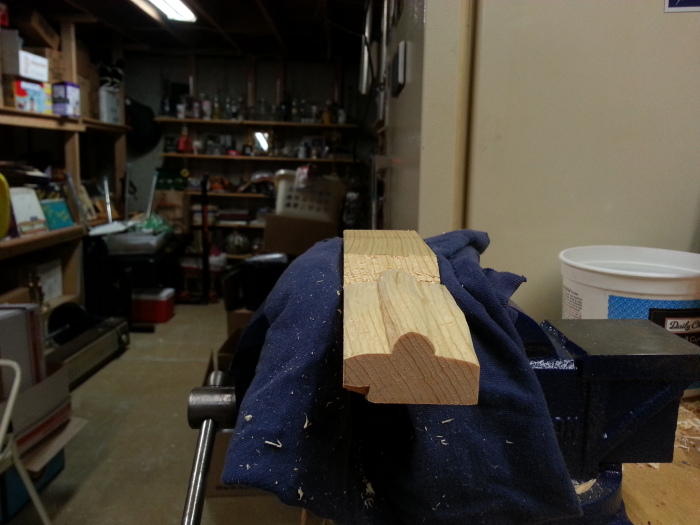
With the windshield out, we went to work on the front again. Side view.
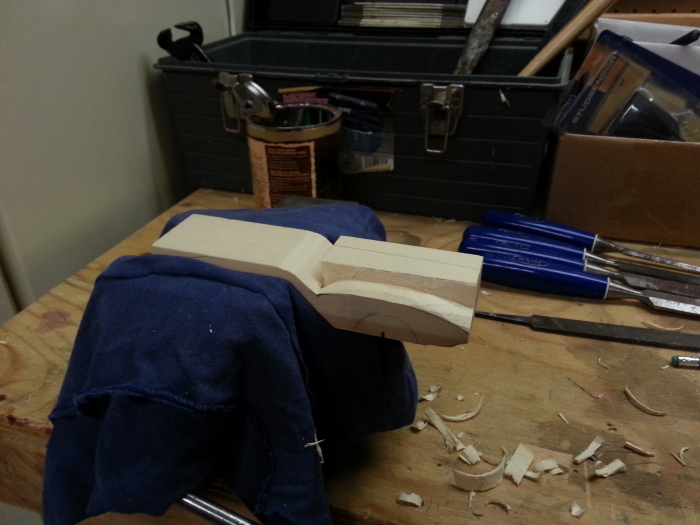
Front view
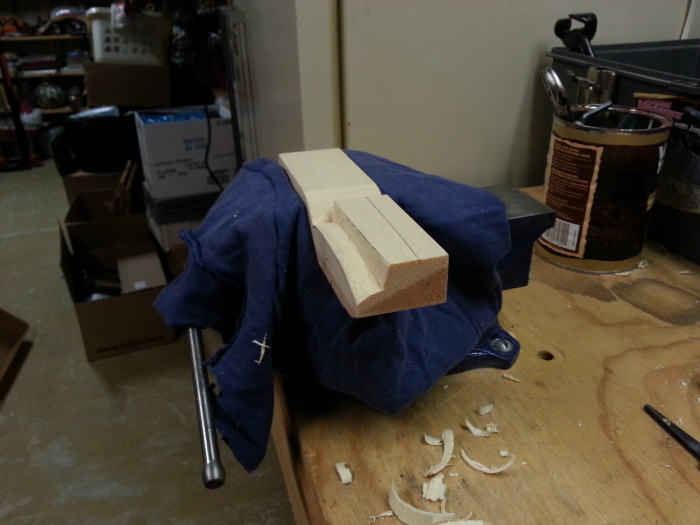
View from rear. With the block in the vice, we were ready to carve again.
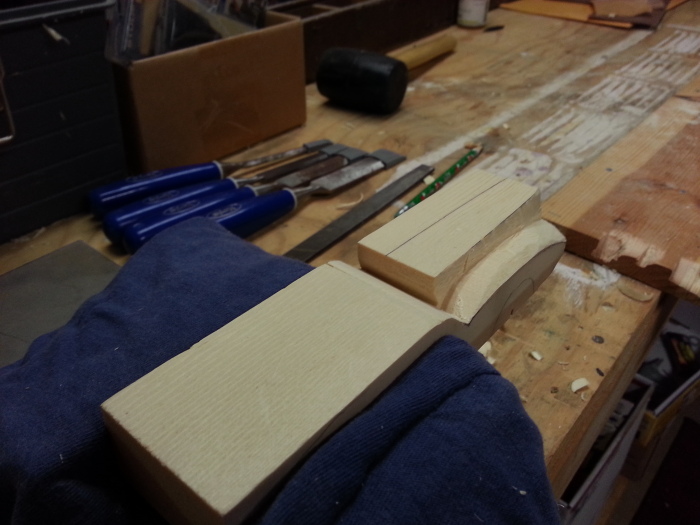
Here's the front end, ready for sanding and shaping.
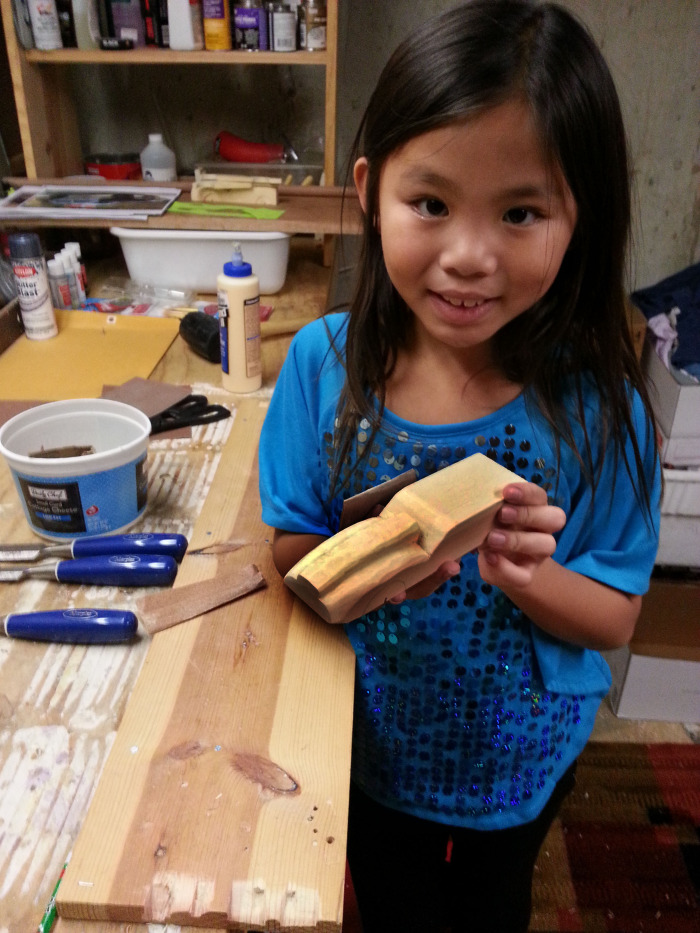
Sanding and shaping. I'm getting pretty good at this!
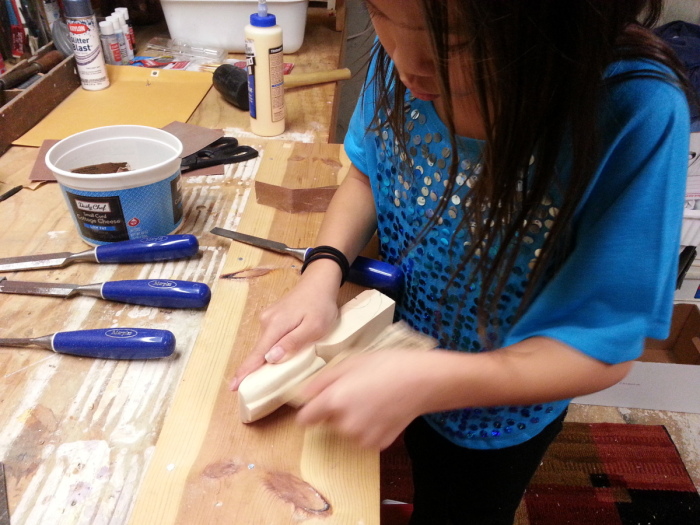
The back end is marked off and ready for carving.
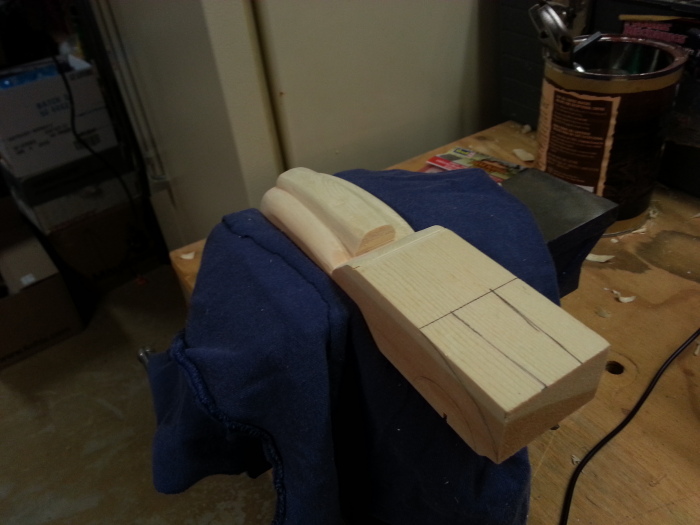
One side done.
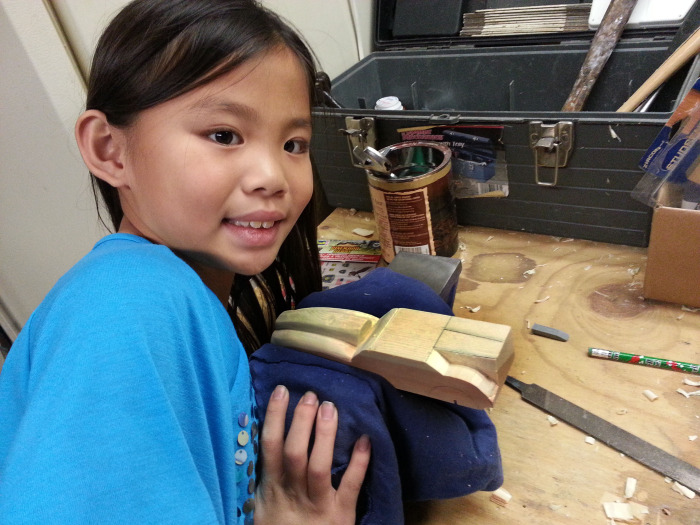
Another view, closer up.
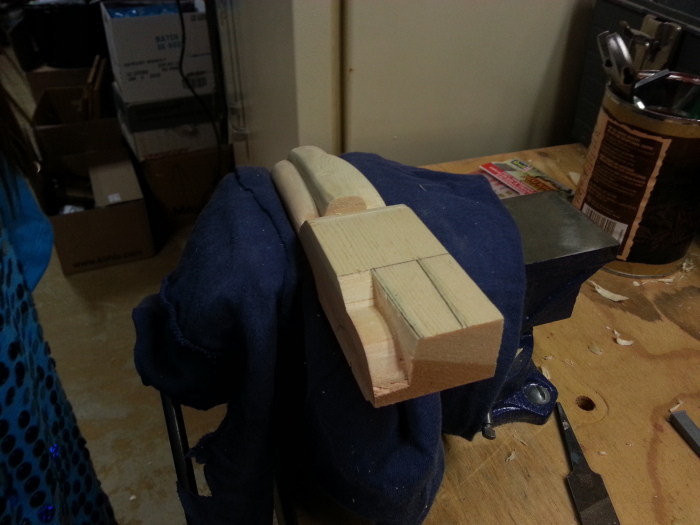
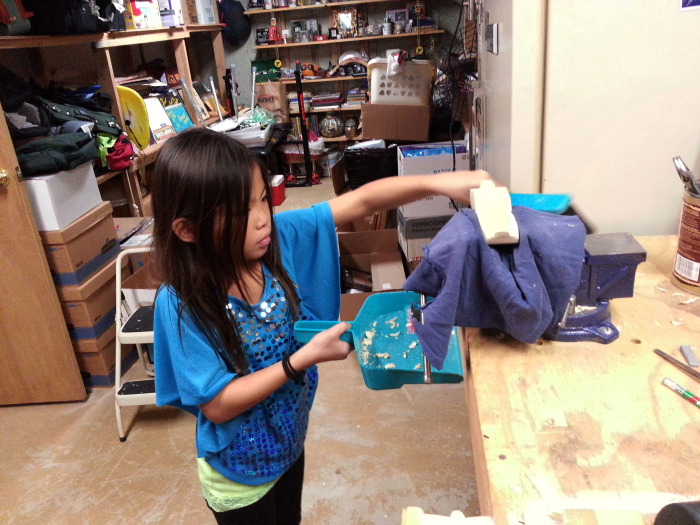
Gotta keep a tidy workspace!
TADA! The basic shape of my car!
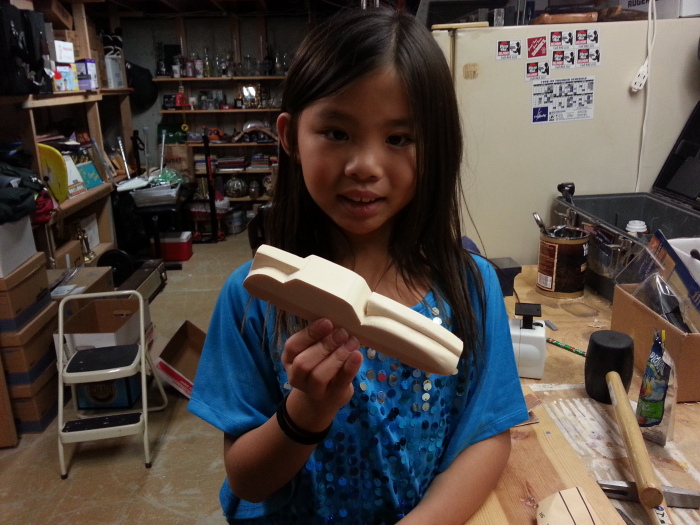
The view from the back.
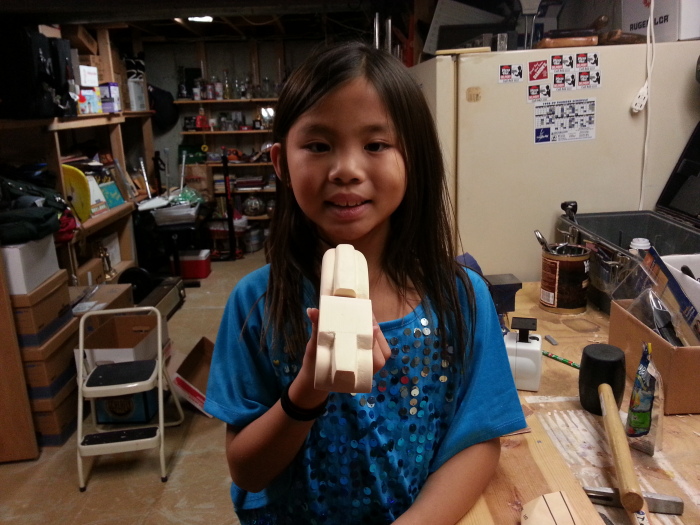
And from the front.
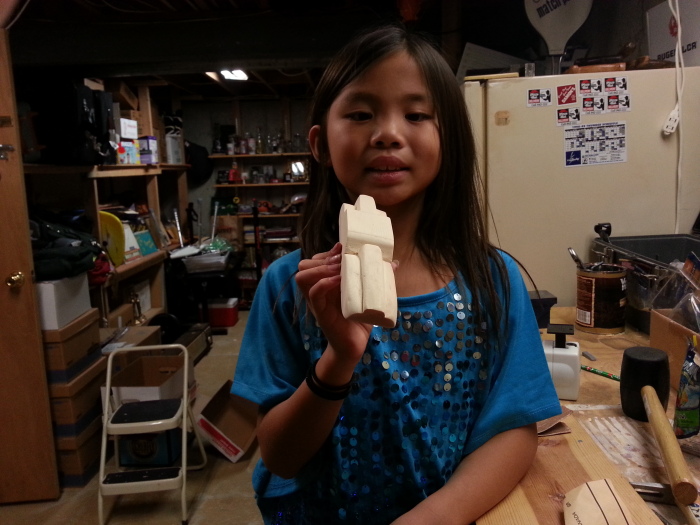
The next few shots are some close-ups of the body work.
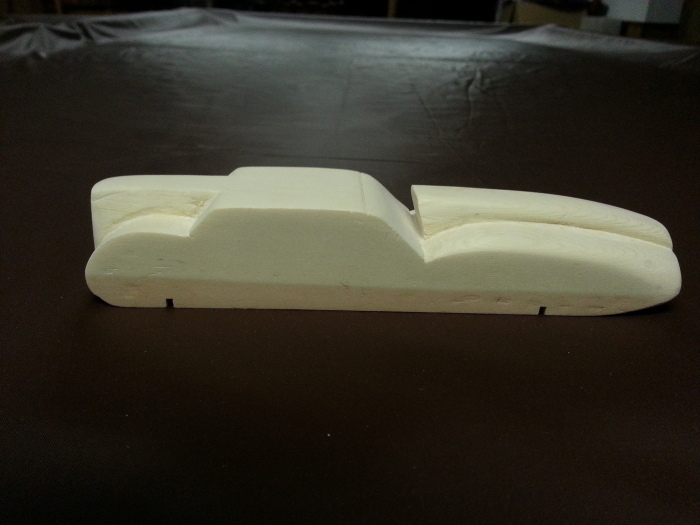
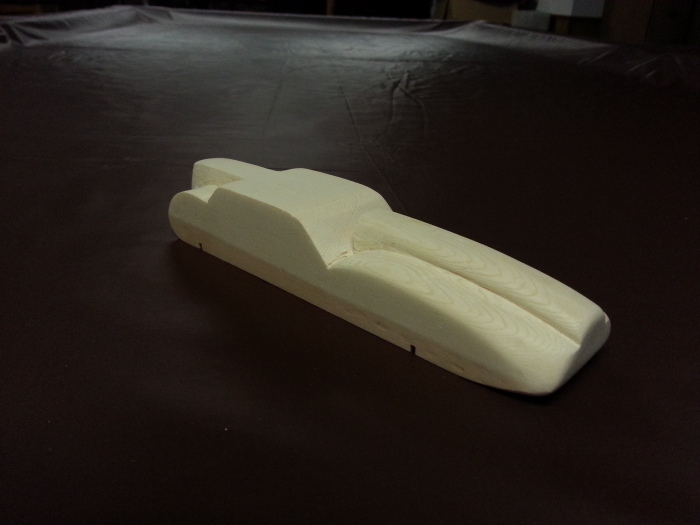
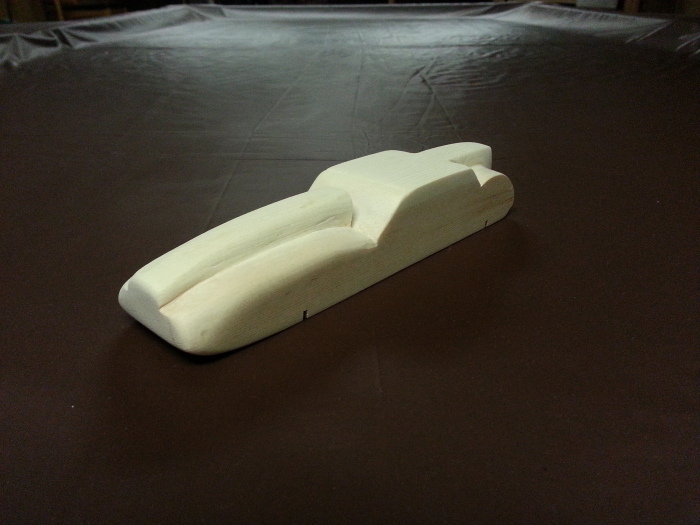
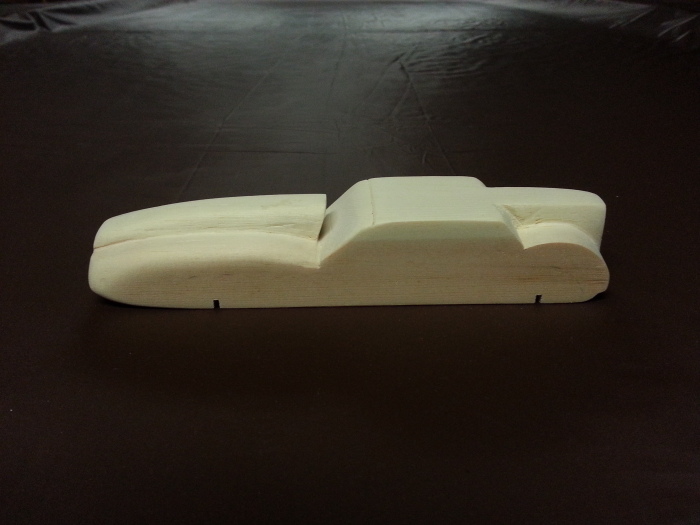
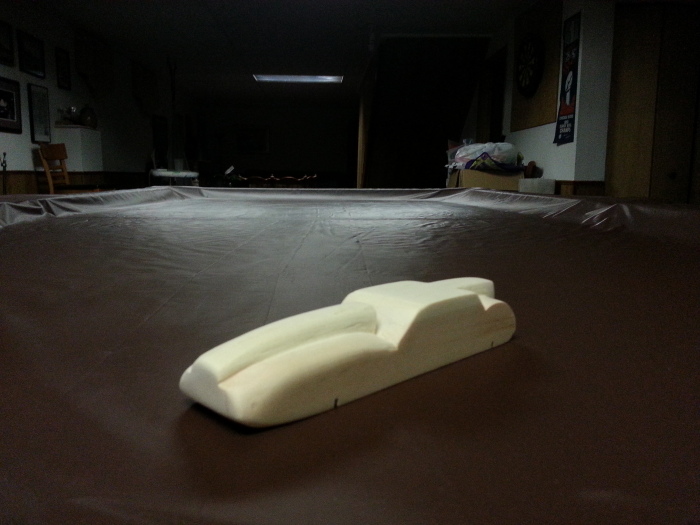
From the back.
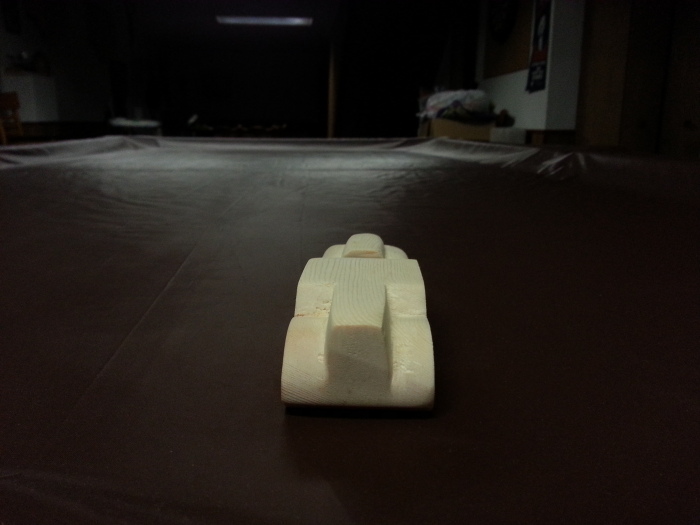
From the front.
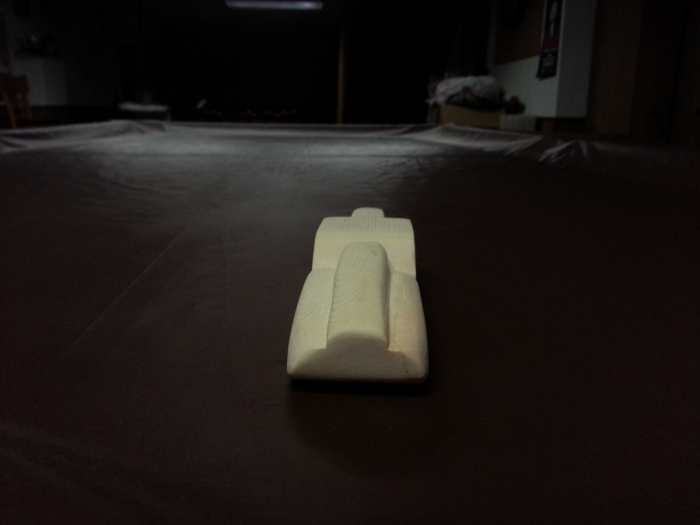
The car is going to be a hot rod police car and it will have lights on top. We got a light kit on line. The battery card goes in the bottom so we had to hollow out a space for it . . .
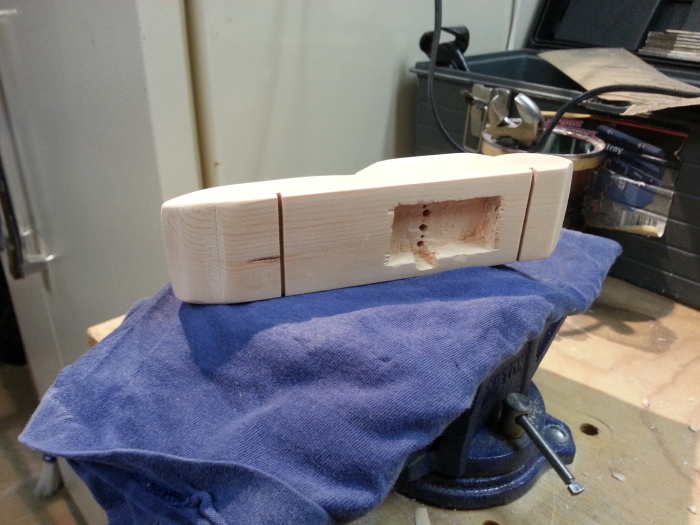
. . . and drill holes through the top. FINALLY, we started to paint. I could hardly wait! You can barely see the white on the middle of the car in this picture. Daddy taped the parts we didn't wan white so the white would only go where we wanted it.
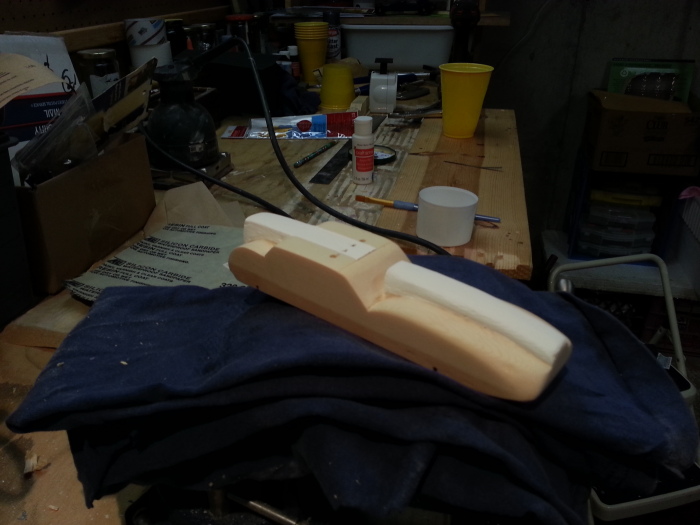
We had to wait a while for the white paint to dry so Daddy could tape over the white and I could begin painting the black.
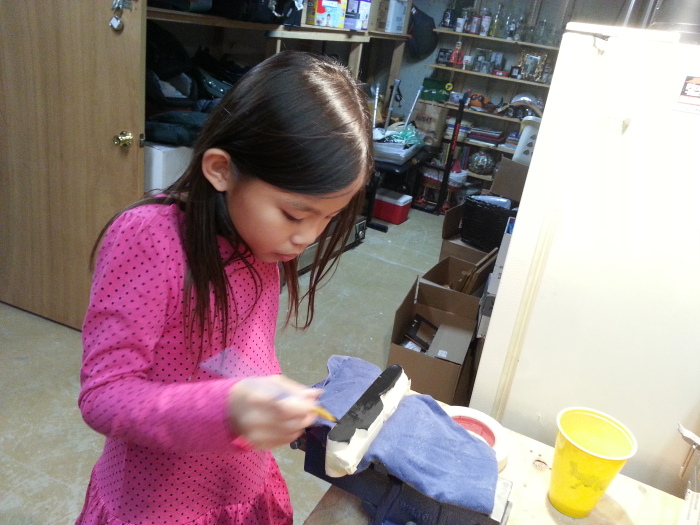
We did the windshield and bottom of the car in metallic silver.
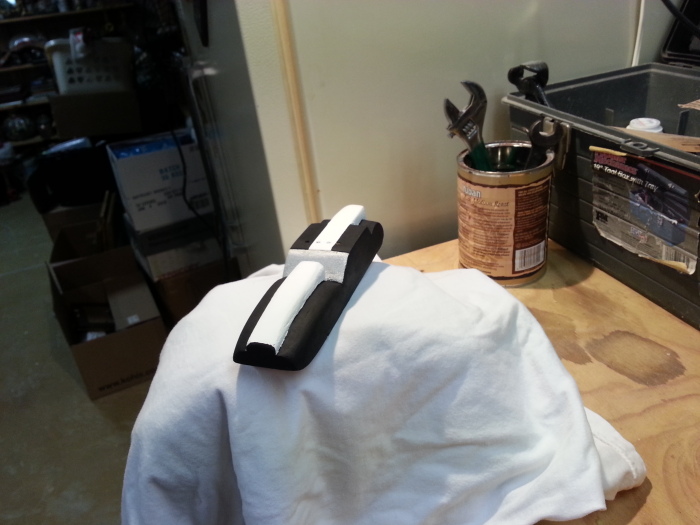
Here's a side view close up.
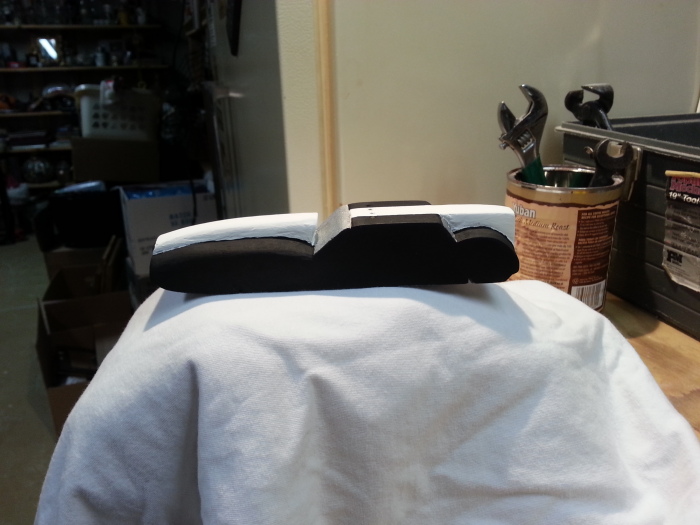
We also did the back windows in silver. Now we're ready for decals and the gloss coat.
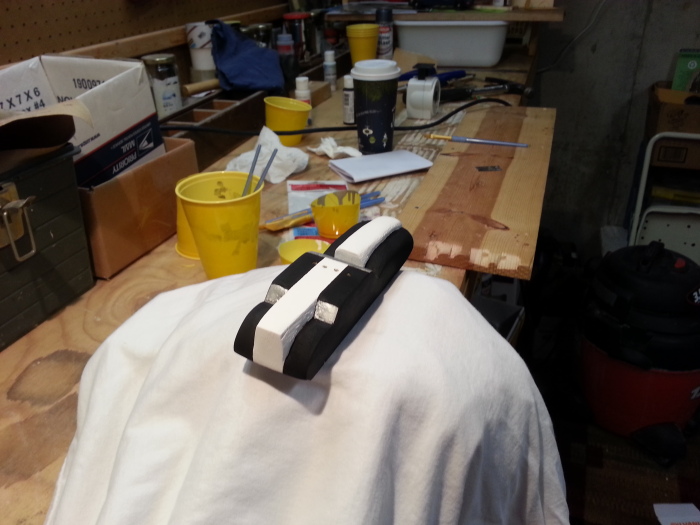
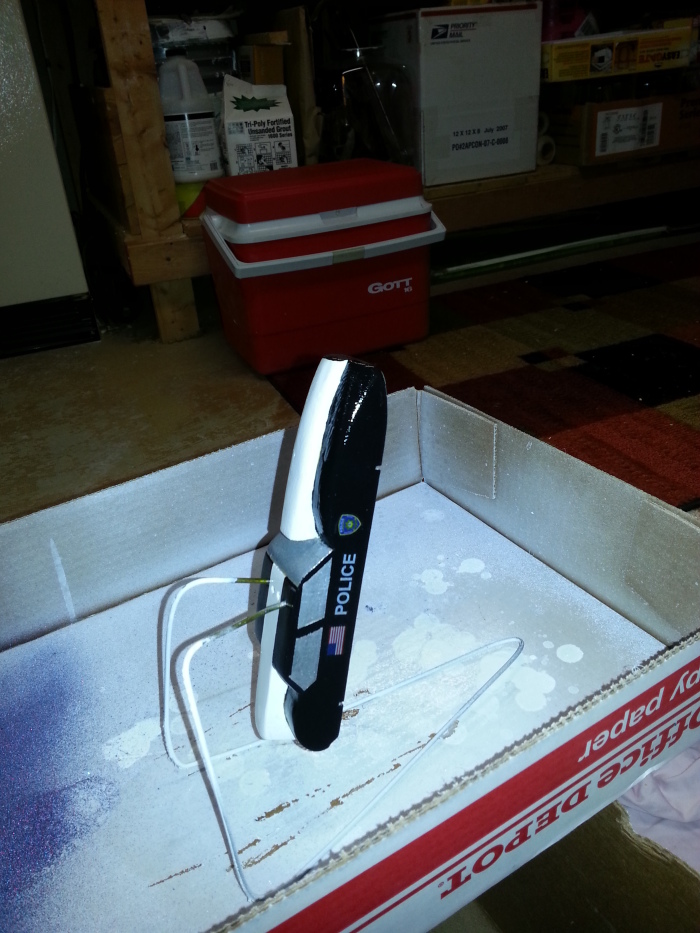
Our friend Chris had a good idea. He bent a hanger and put it through the holes on his car to spray paint it. Once the decals were on, we used the same trick since the gloss is a spray. We can get to all surfaces of the car without having to touch it. That Chris - he's a smart cookie!
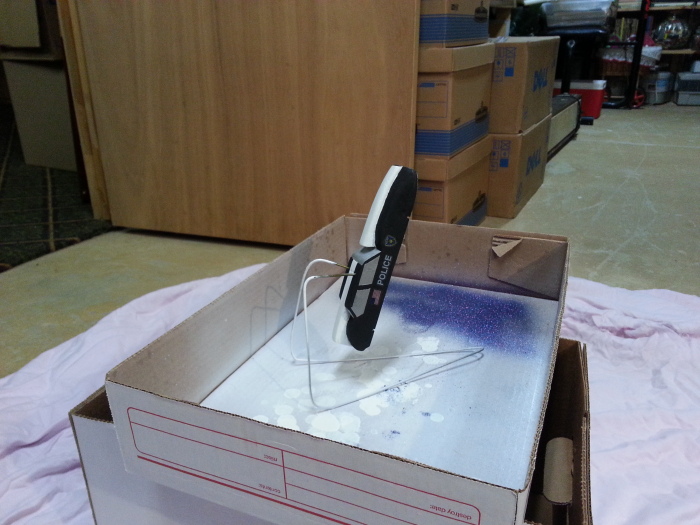
You can already see it start to shine after the first coat.
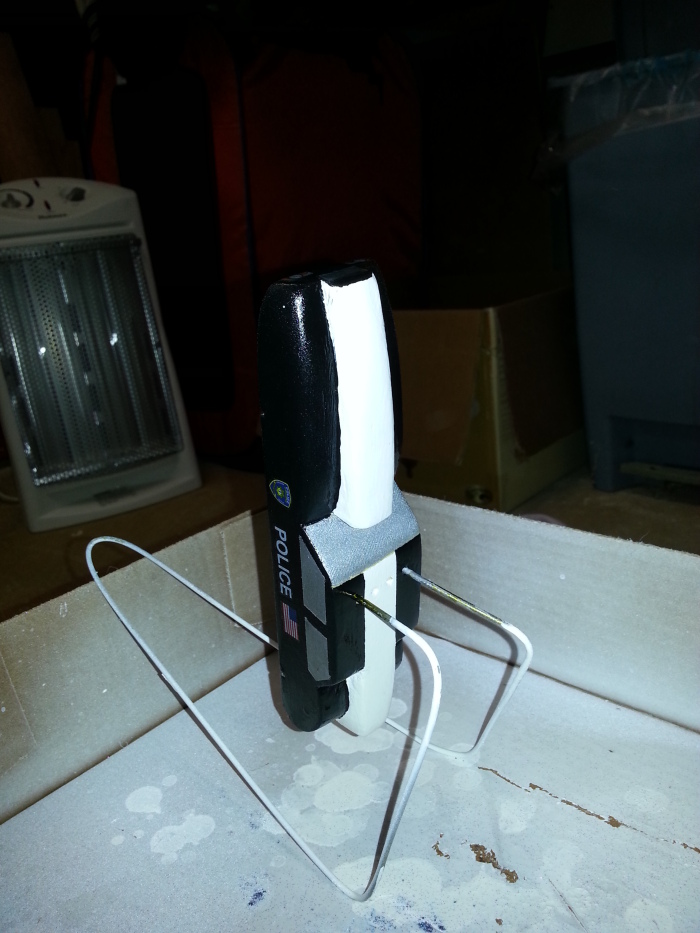
More gloss. It's gotta be really shiny!
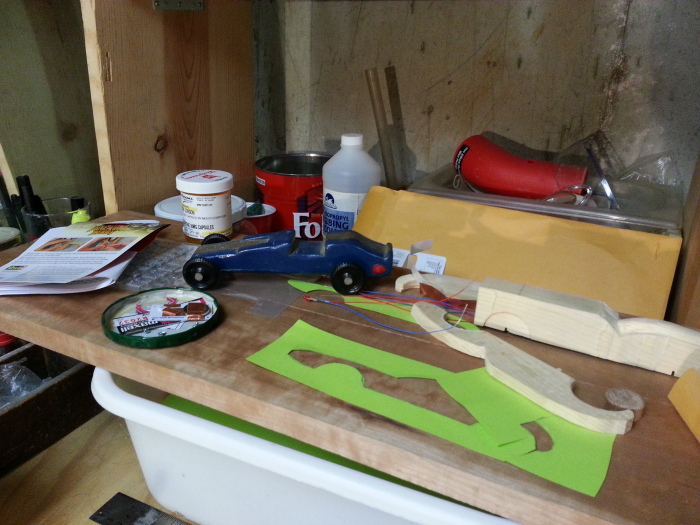
Here's a picture of some of the parts and pieces of the process. You can see the template we used for the body style and the first block that Daddy messed up. He suggested using pieces of the original to make wheel wells on the new one, but I thought it would be fine without them. Once we got to this point, Daddy was convinced I was right! You can also see the lights on the red and blue wires and the battery card in the jar lid. That blue car was Daddy's when he was a cub scout, 44 years ago. His daddy, Papa Kenny helped him like he's helping me. Daddy keeps it close by. He's sentimental that way!
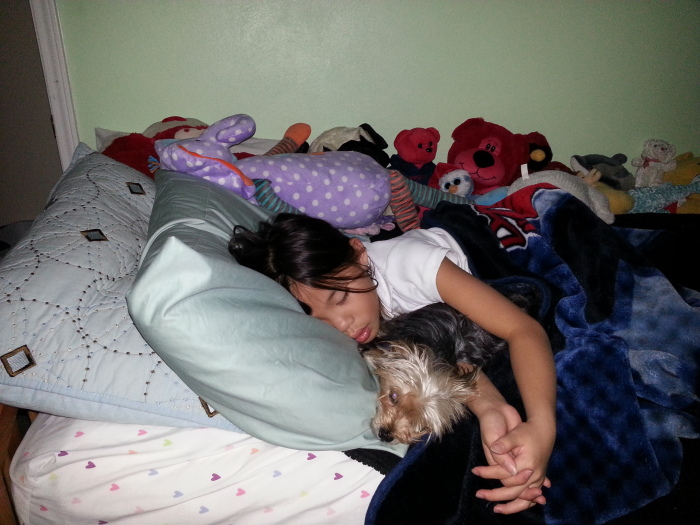
After 2 days of hard work, I was bushed. I fell fast asleep with Bucky.
Now we have the lights on and wired up. Hope they work!!
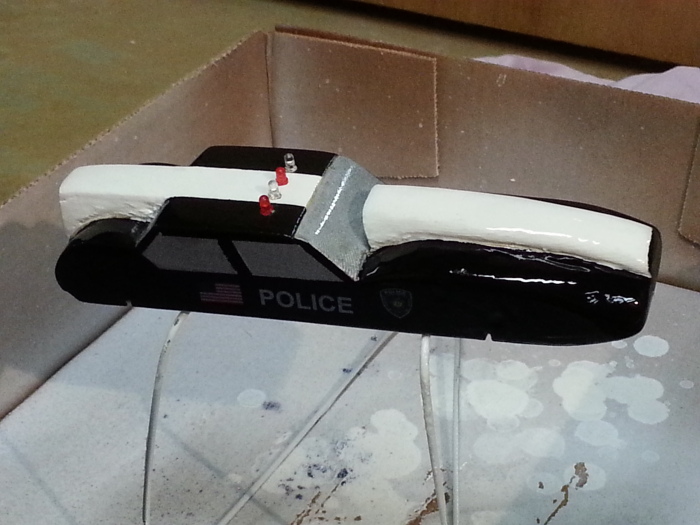
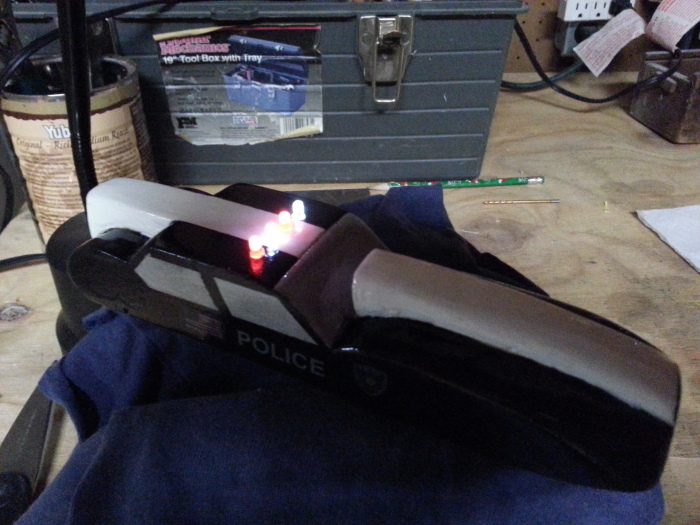
YES!! Nice job, Daddy!! (Thanks to Chris too, for suggesting this and giving us pointers on how to do it.)
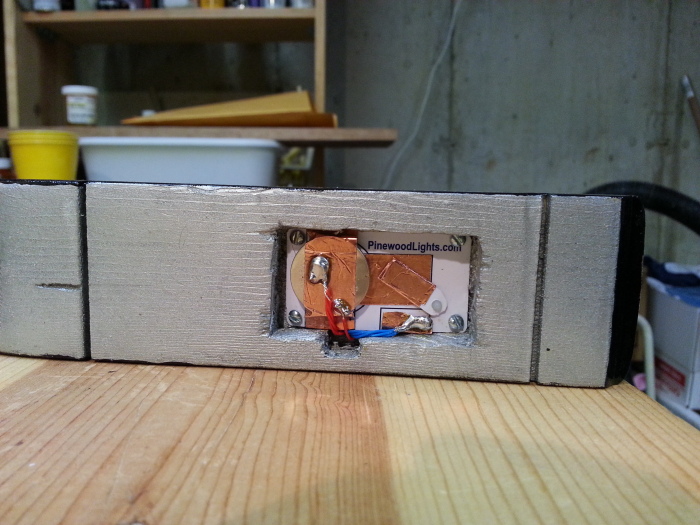
Here's the battery card in the bottom. The wires come down from the lights in the top and wrap around the card. The card has a strip of metal tape around the battery and another separate. The red wires are soldered to the battery strip and the blue wires are soldered to the other strip. There's another little piece that you can push back and forth. That's the switch. It's covered with metal tape, too. When it touches both the strips, the circuit is complete and the lights go on. Move it away and the lights go off.
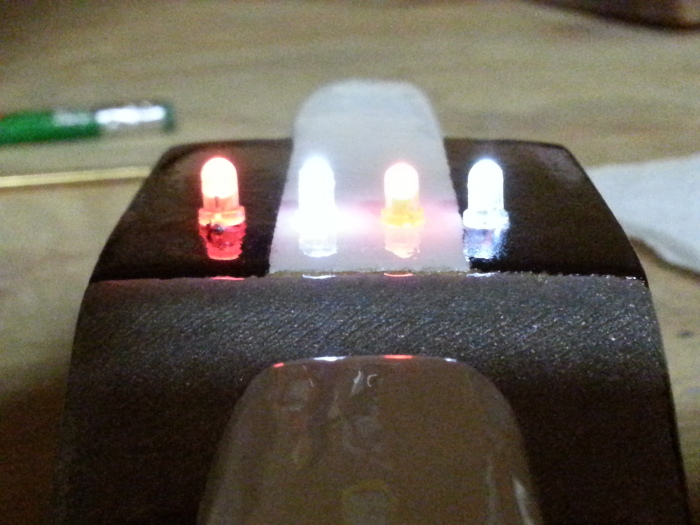
Aren't they cool?
Here's a picture of my car so far with Daddy's. All that's left to do is add some weight and put on the wheels. The car is just under 3 ounces now and it can be up to 5 ounces. We'll need the weight to make it fast and competitive!
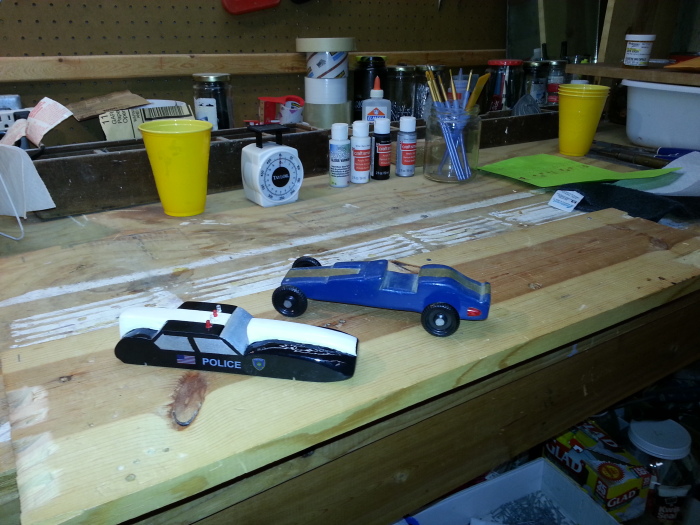
And now, a tribute to Daddy's car. . .
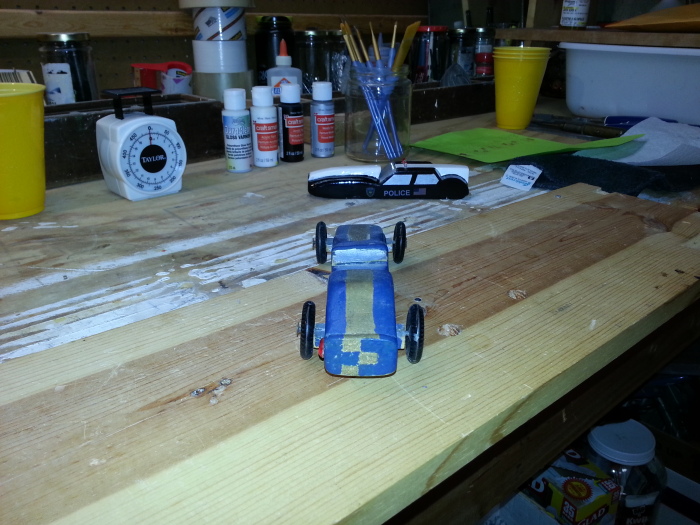
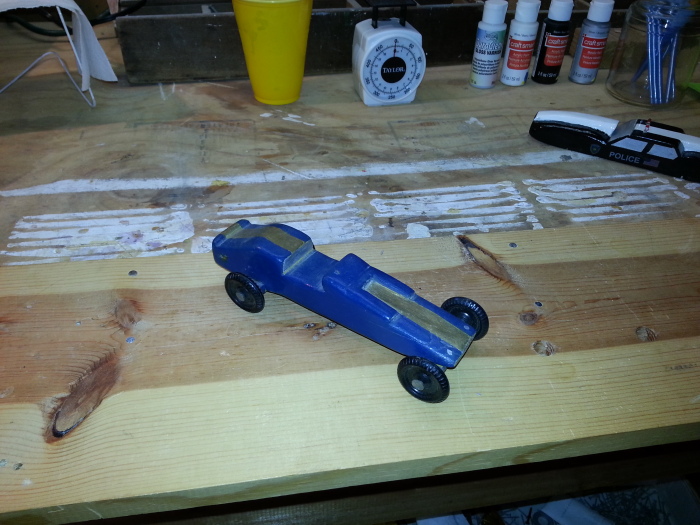
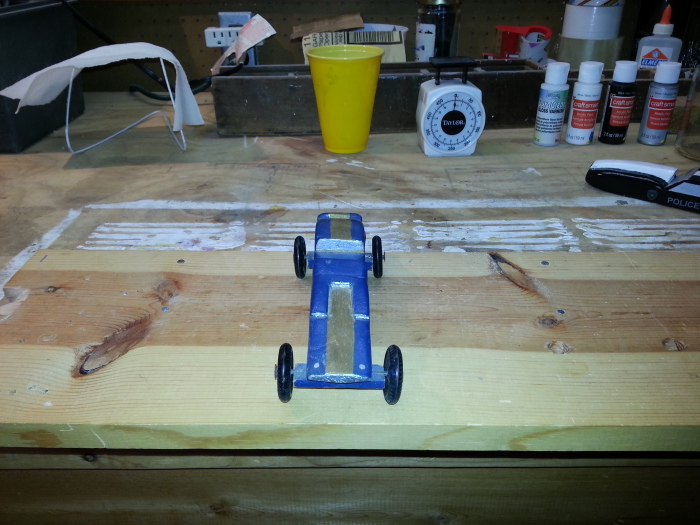
My car weighed 3.1 ounces with wheels and axles before weights. Max weight is 5.0 ounces so we could add almost 2 ounces. We prepared the car by drilling holes in the bottom . . .
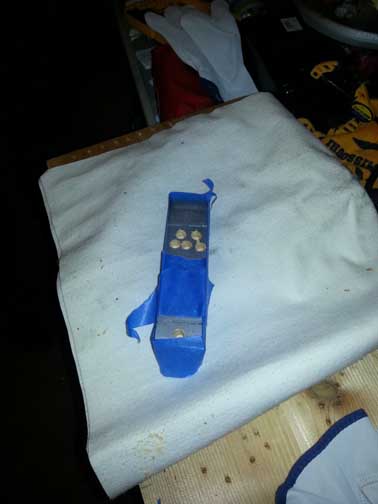
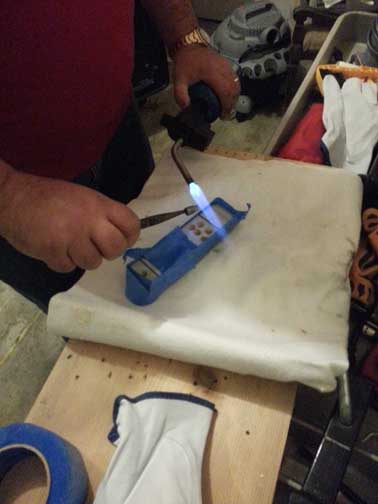
Then our friend Chris helped by melting lead weights and dripping them into the holes with a blow torch and a needle-nose pliers. It was cool . . . or should I say, HOT!!!
After it cooled, we weighed it with the wheels and axles. It was 5.1 ounces, so Daddy drilled out some of the lead until it weighed exactly 5 ounces. Then, I helped put on the wheels and added some graphite to really make them spin.
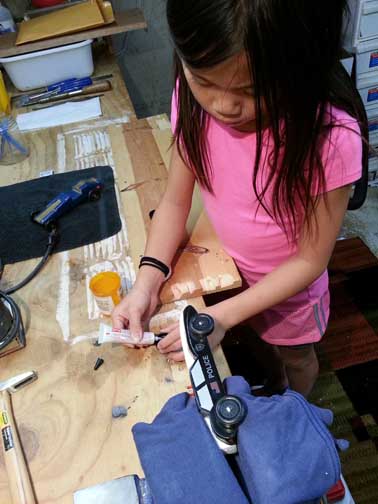
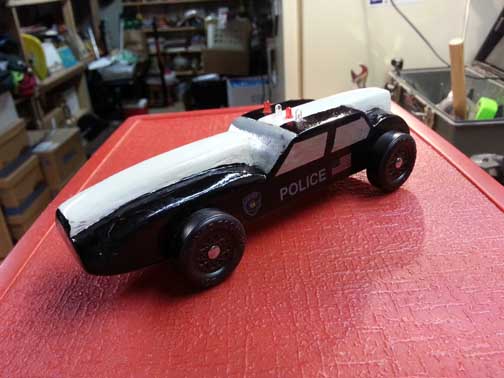
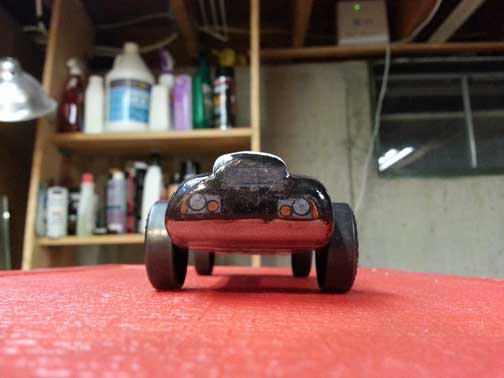
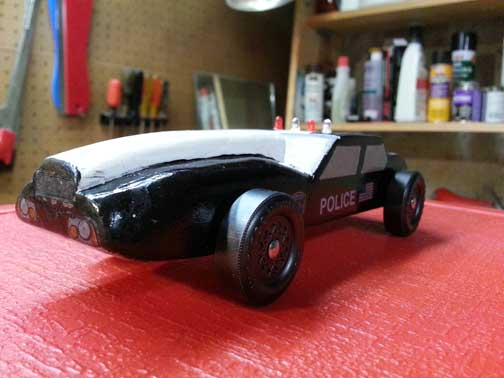
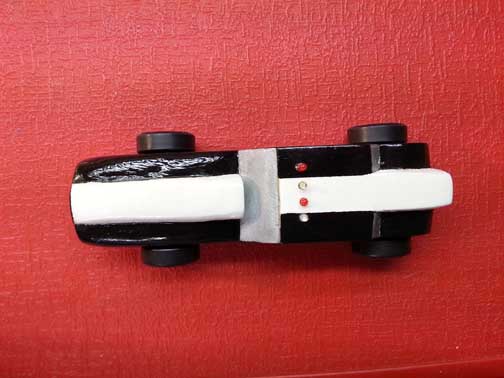
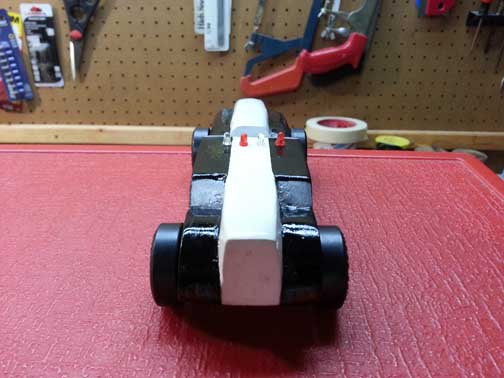
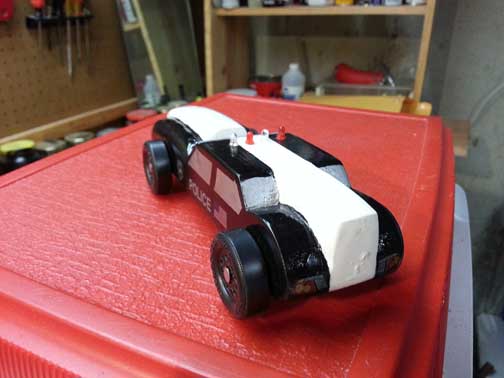
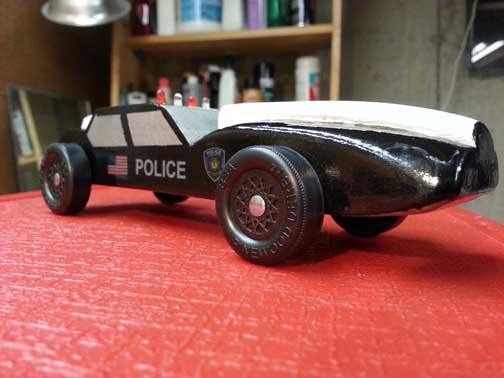
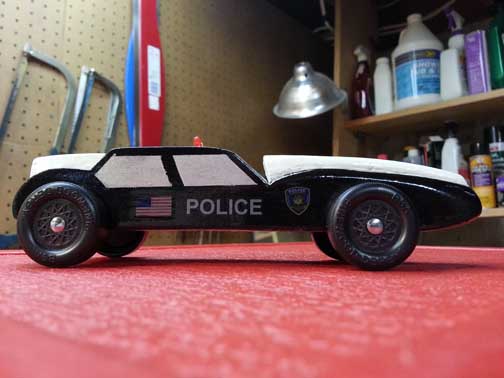
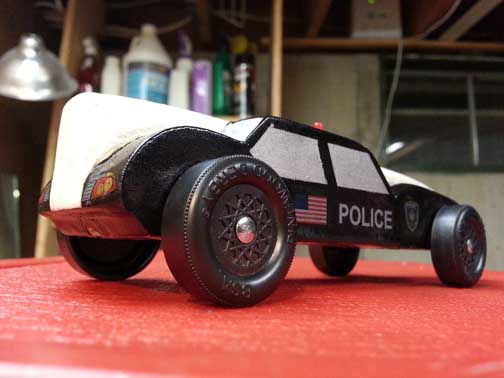
Finally - my car is ready to RACE!! Here it is - what do you think???
Friday, January 25, 2013 - Setup
Daddy and Chris went to Saint Monica to help set up the track. I think they just wanted to be the first ones to play with the cars!
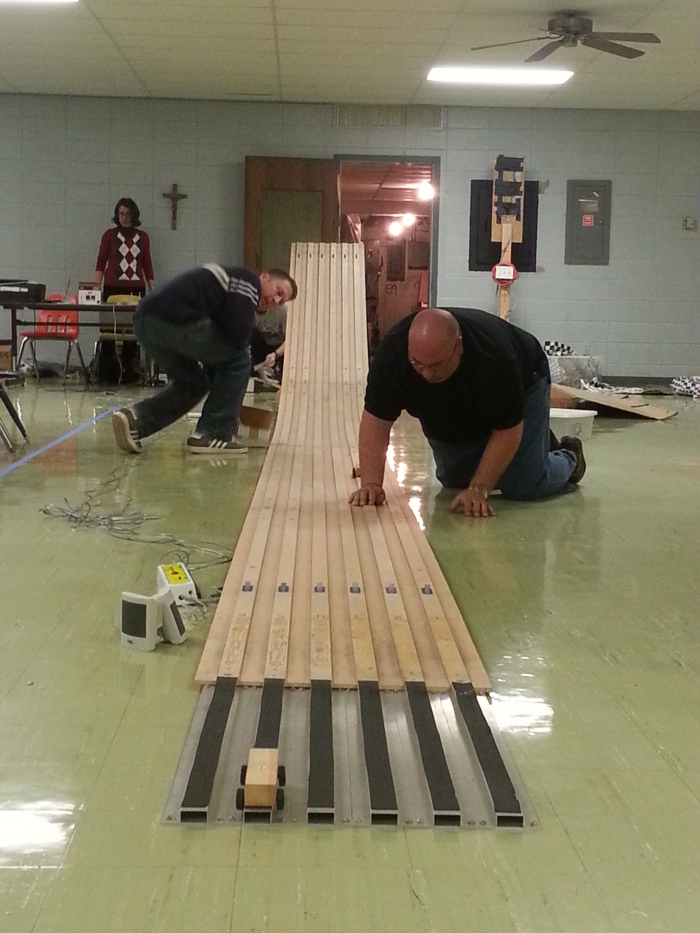
Here's a look down the track from the starting gate
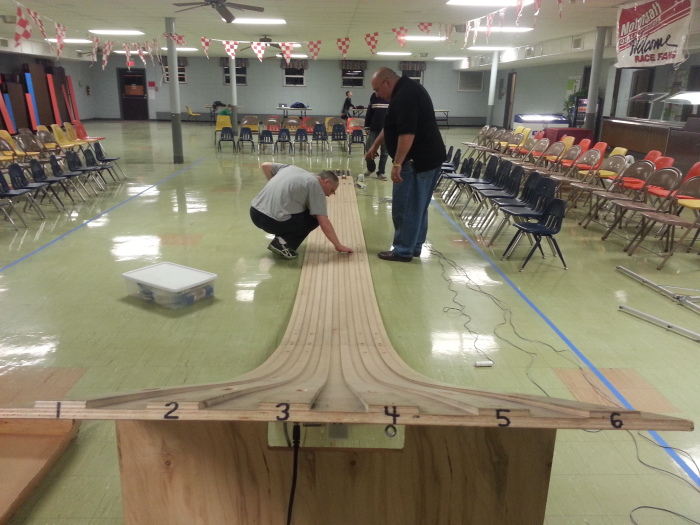
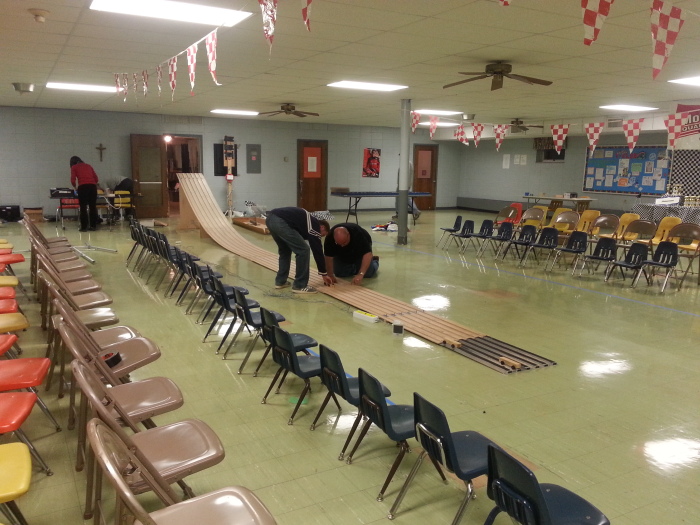
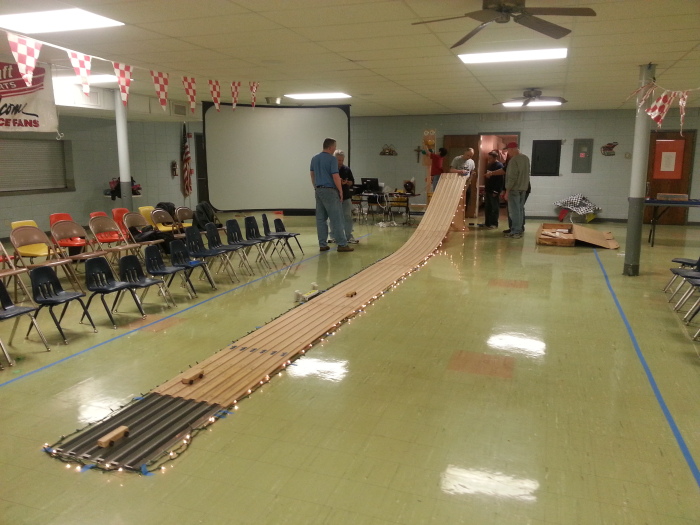
The track is adorned with lights and ready for testing!!
Saturday, January 26, 2013 - Registration
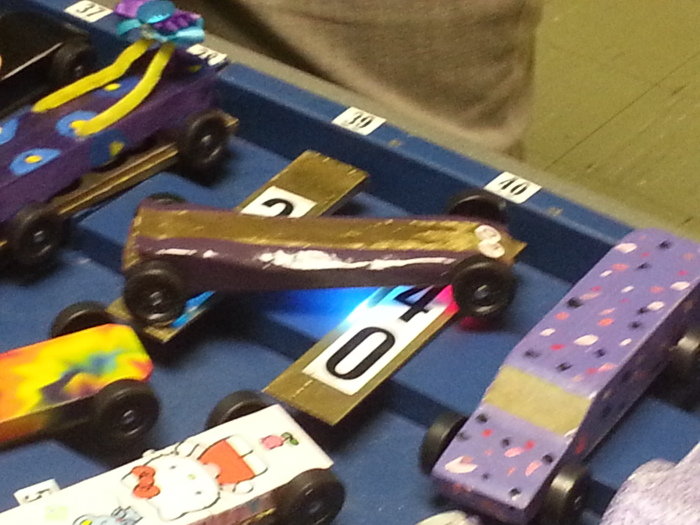
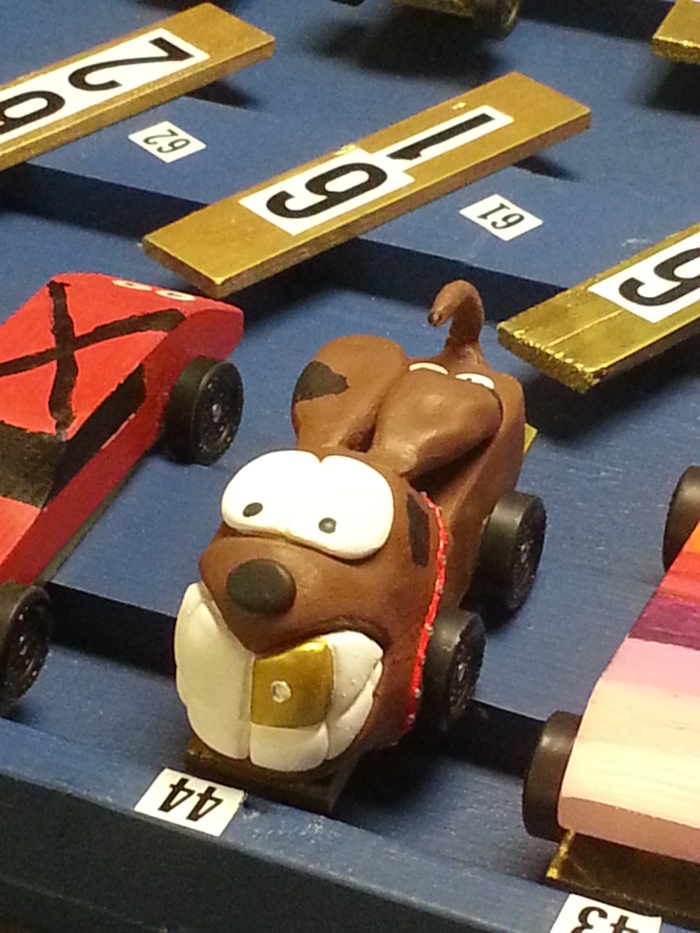
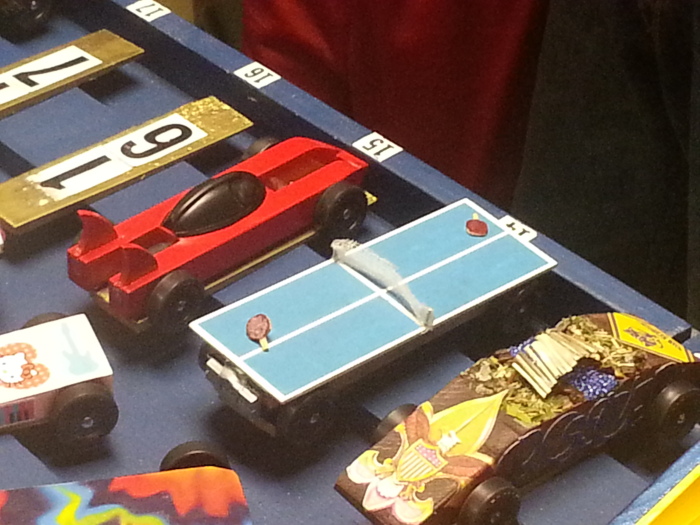
People started to show up with their cars for registration and weigh in. Cars can't weigh more than 5 ounces, or 142 grams. They have to be under a certain height, and within a certain length and width. And the wheels have to be a certain distance apart. My car was PERFECT!! Here are some of the others I saw.
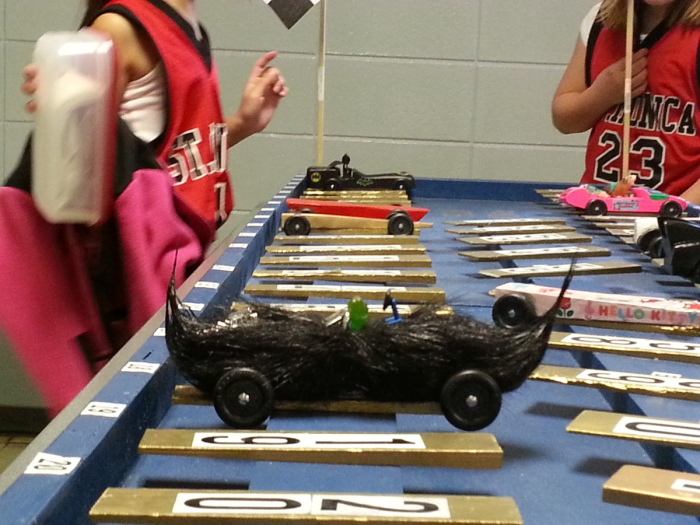
A moustache car!! See the green gummy bear driver?
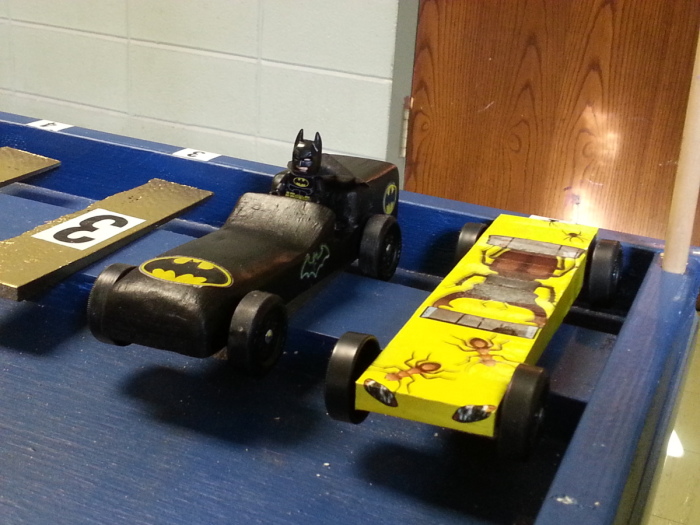
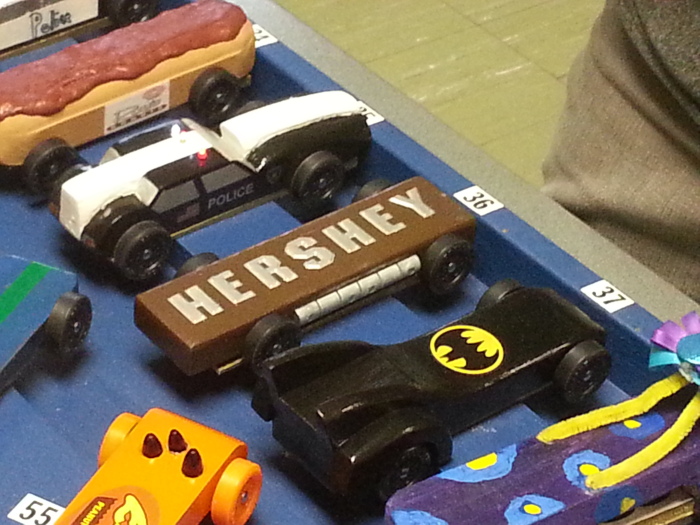
Here's a Batmobile and a bug car built for speed
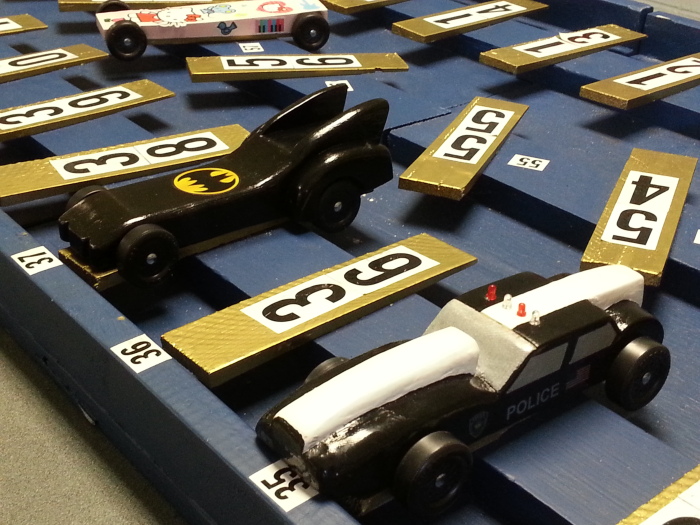
Another Batmobile and Lily's car - #35
A couple more built for speed
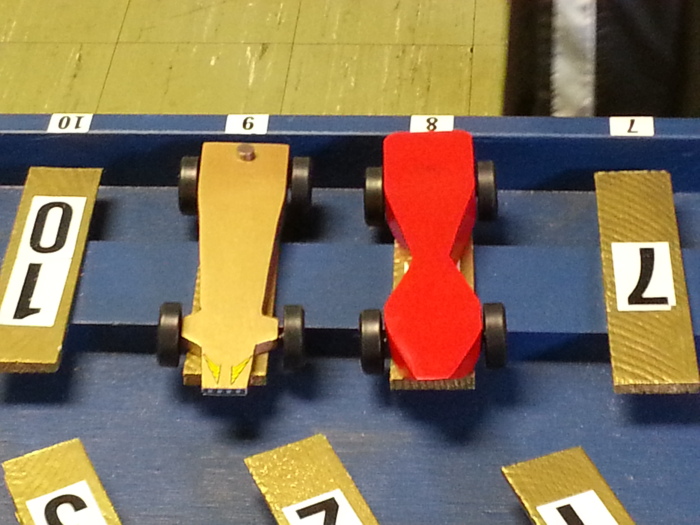
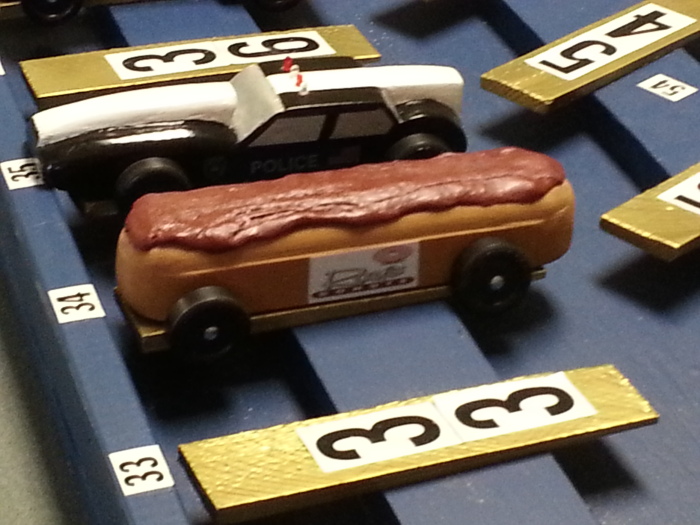
How about a chocolate long john, right next to a cop car - coincidence?
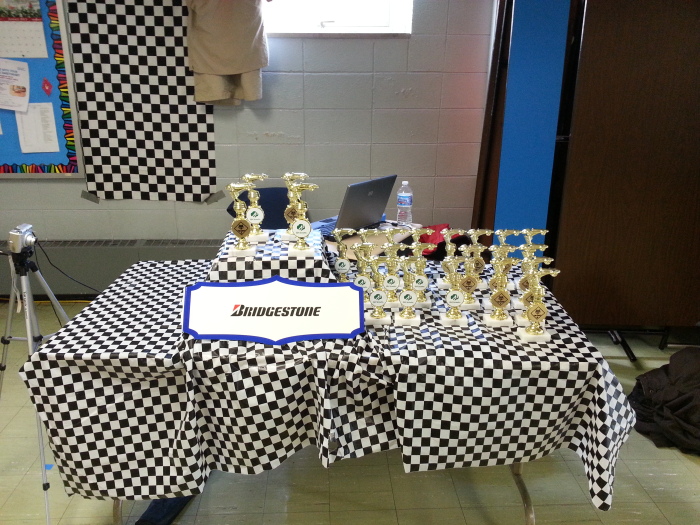
The Trophy Table
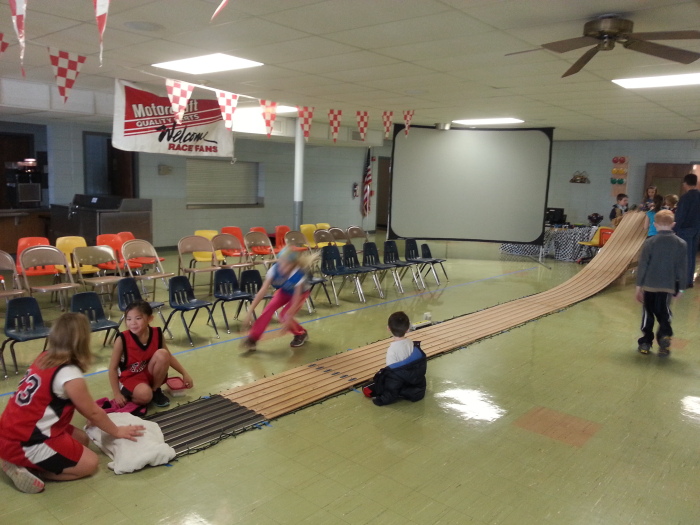
The kids are testing out the track
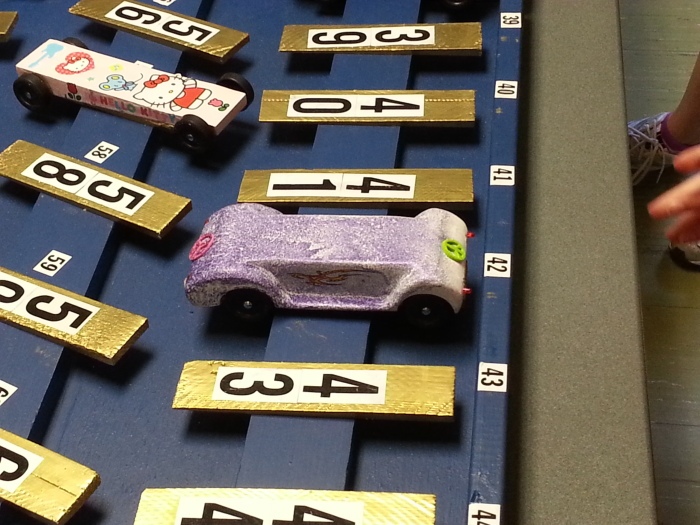
Here's Lizzie's car - a glittery VW Bug
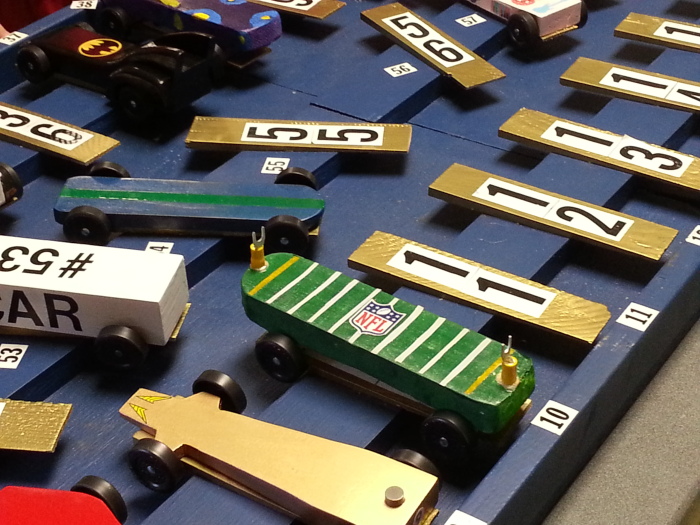
Football anyone?
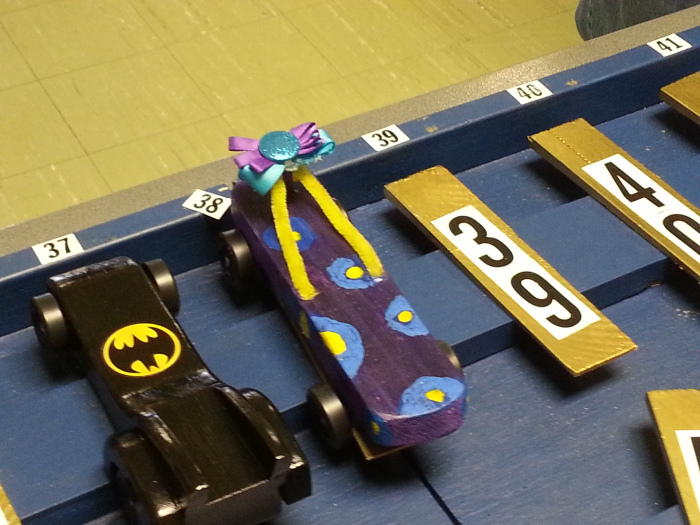
How about a flip-flop?
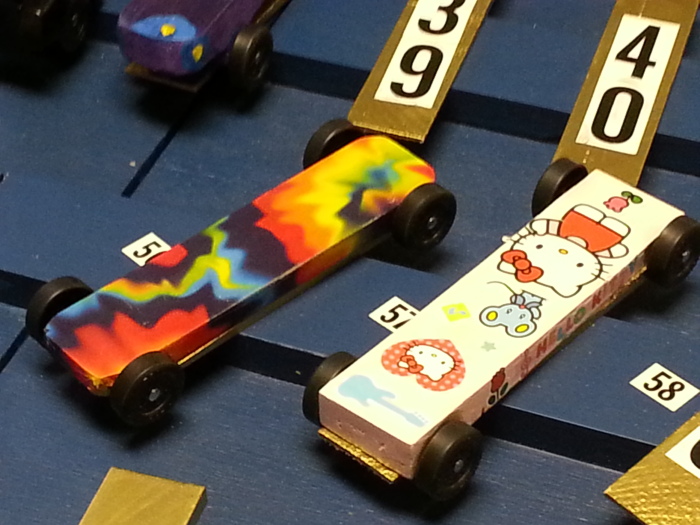
Helloooooo Kitty!
Sunday, January 27, 2013 - Race Day
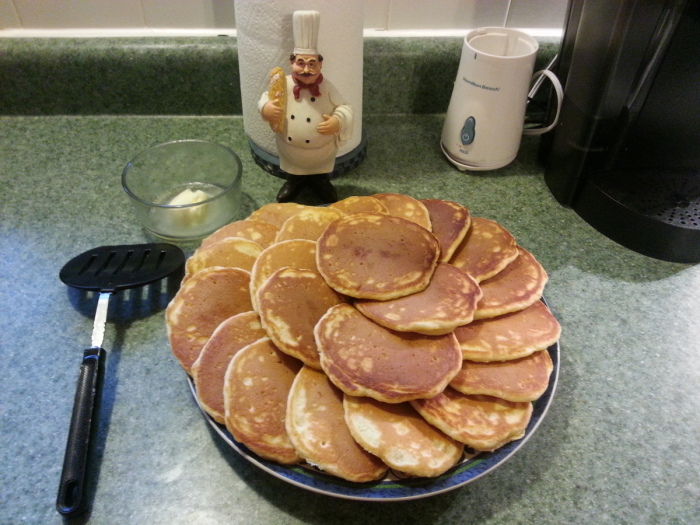
It's finally here! No better way to start off Race Day than with a batch of Daddy's homemade pancakes for good luck - Mmmmmmmmm!
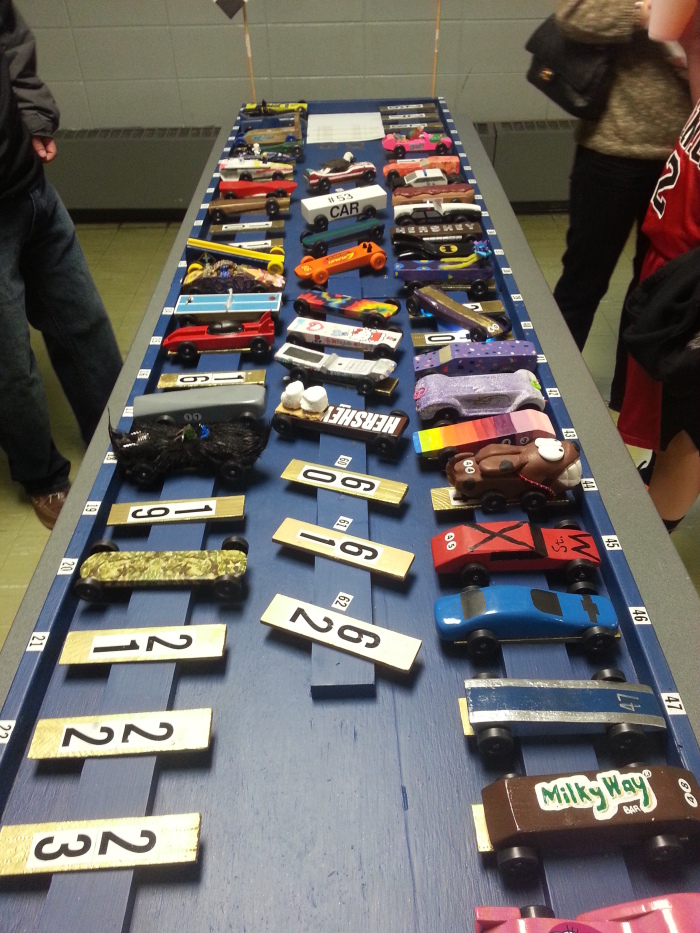
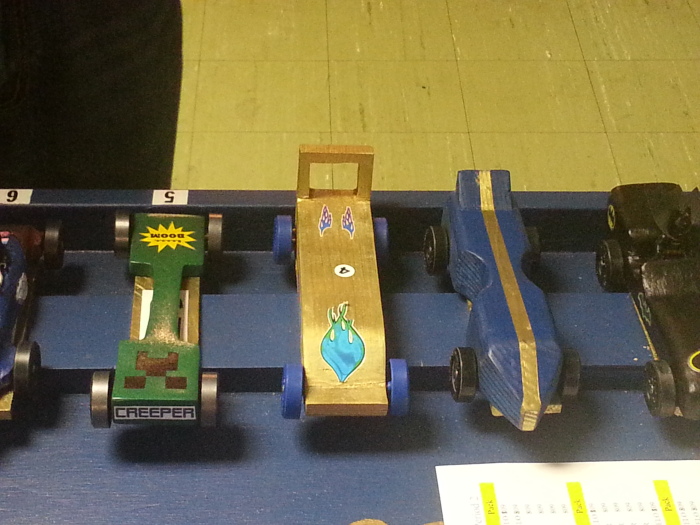
Here are a bunch of cars in the pit
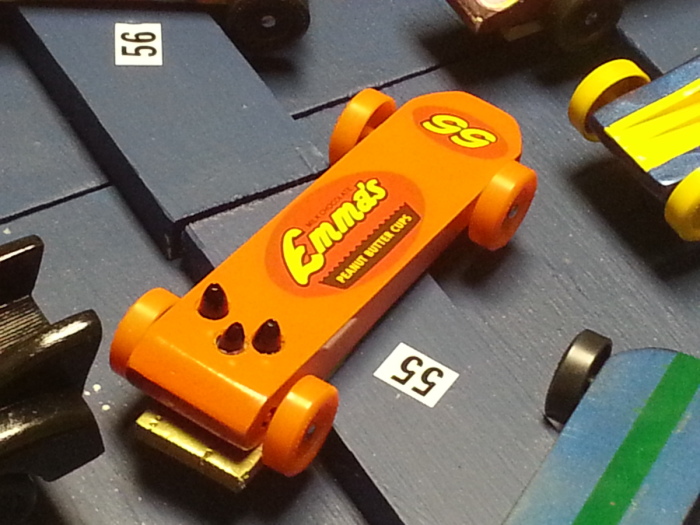
Do ya think this is Emma's car?
So many cars - so much creativity!
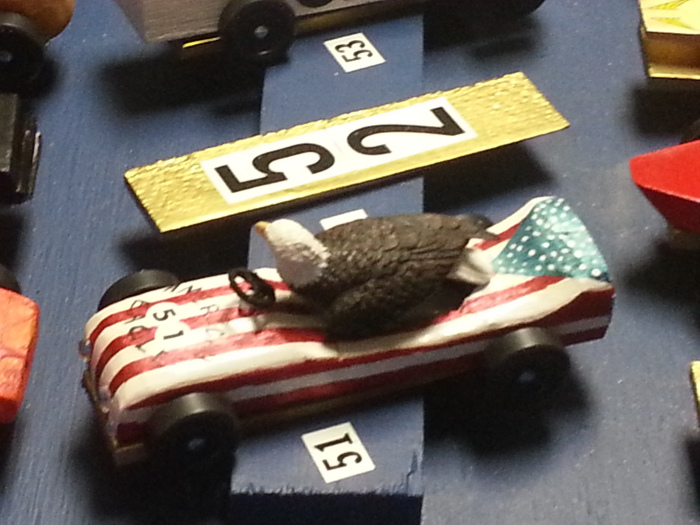
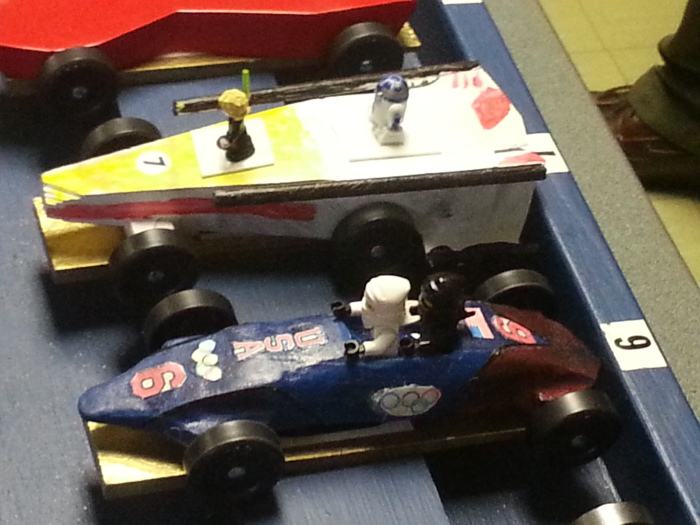
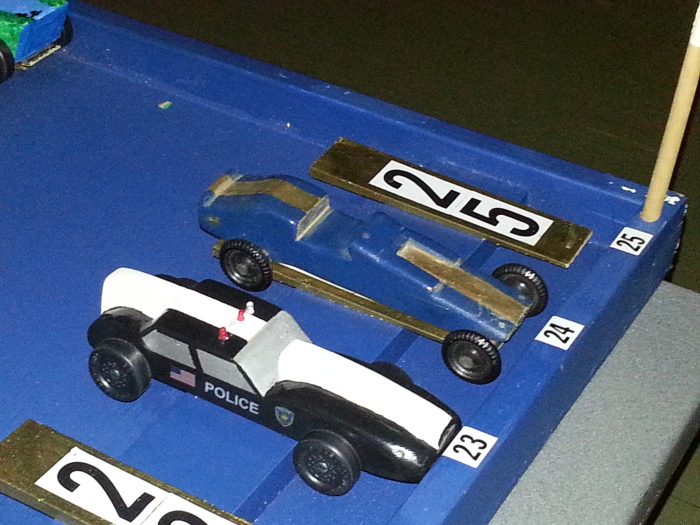
Here are my two favorites - Daddy's car and MINE!
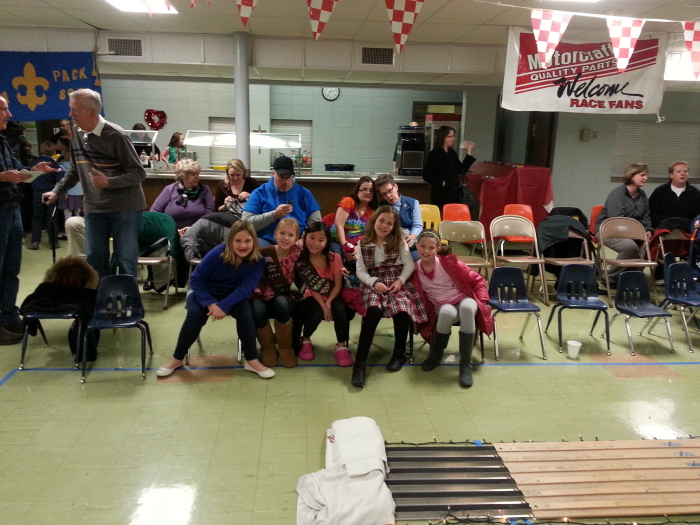
All my friends turned out for the race - even those who weren't racing. We're a pretty tight bunch :)
Big crowd around the track
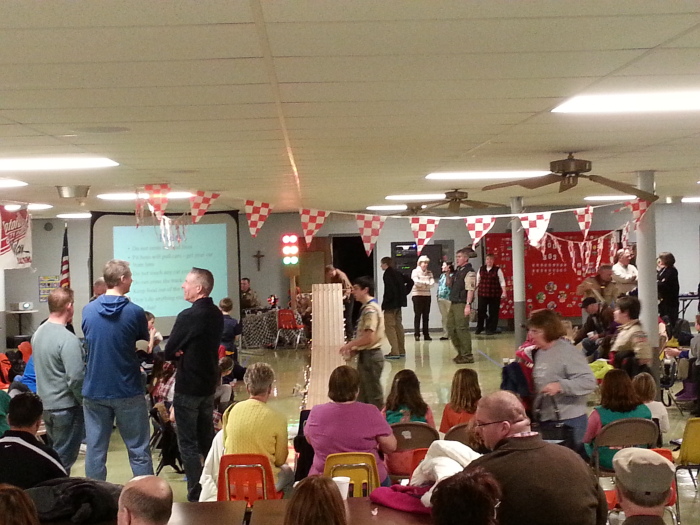
We're riveted to the action!
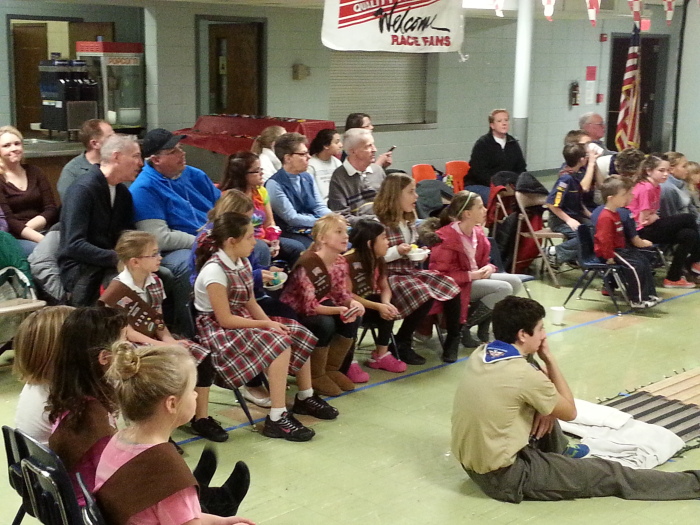
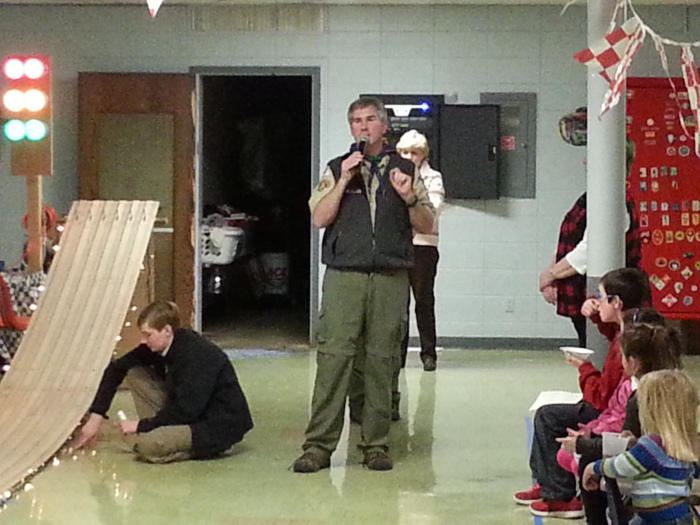
In between races - a break in the action
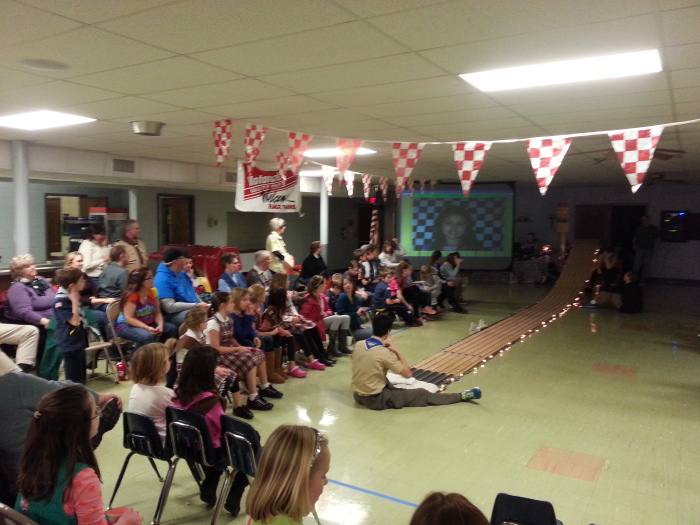
This is Command Central. At the beginning of each race, a picture of each racer and their name would come up on the big screen then slide into position on the graphic, depending on the lane their car was racing in. When the cars got to the end of the track, they would run over sensors that recorded the time and place of each car at the finish. Then the names of each racer and their time would show up on the screen again in the order of finish.
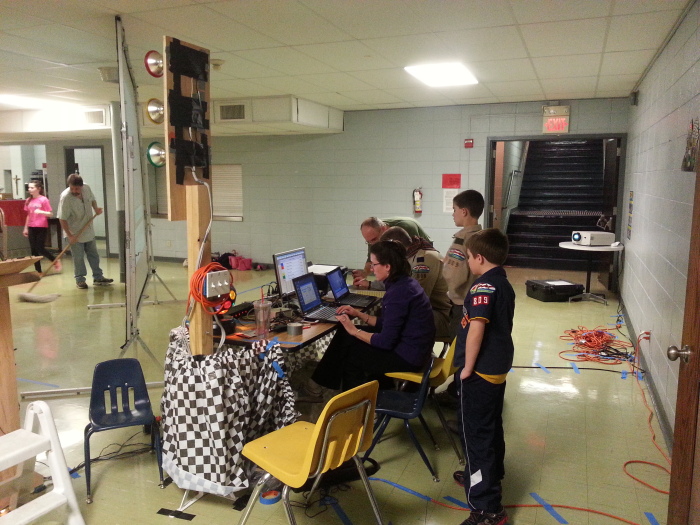
After all the races, we waited for the results
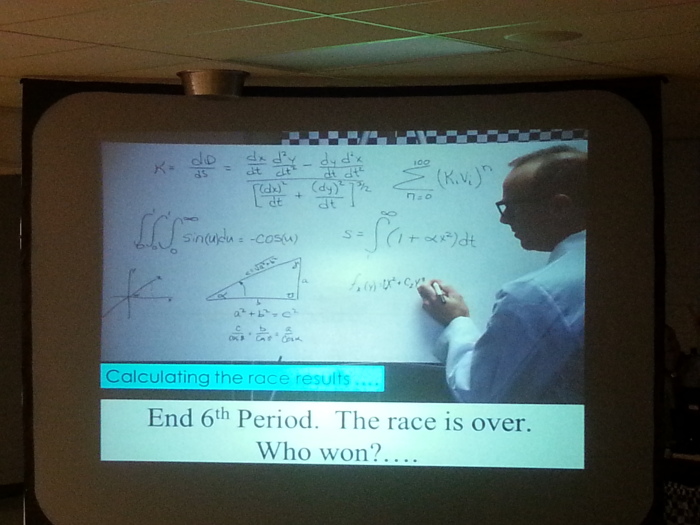
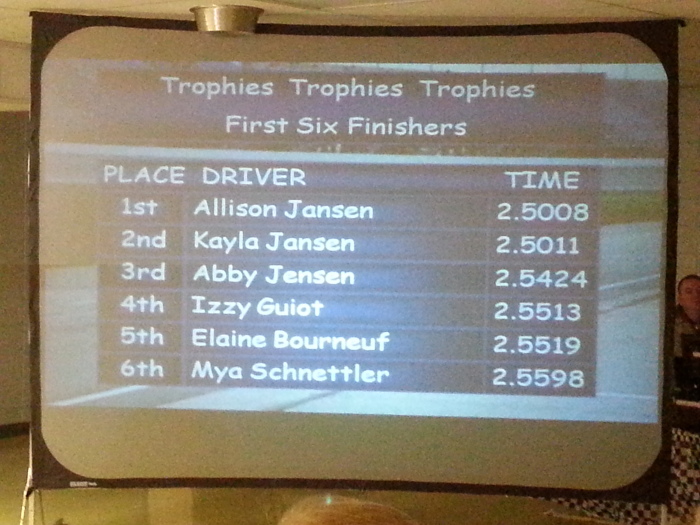
Every car raced once on each of the 6 lanes then average times were computed. The 6 lowest times were the speed winners. Here they are.
And here are the design winners
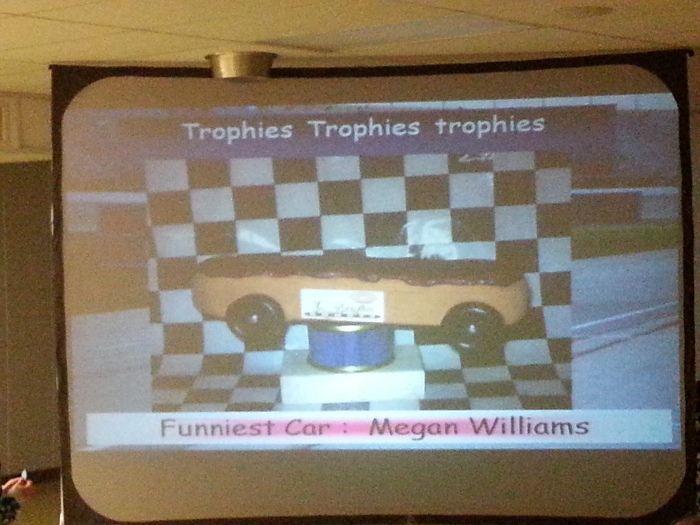
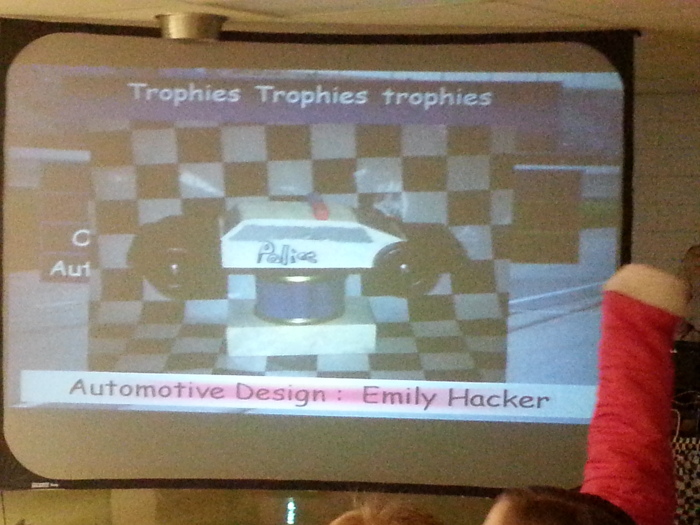
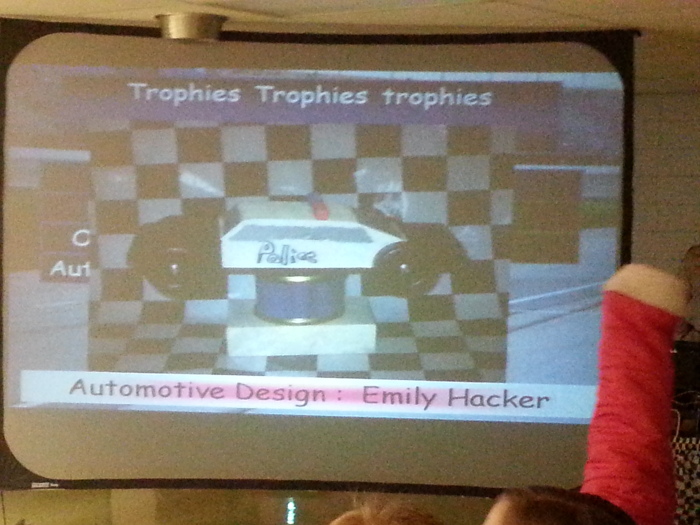
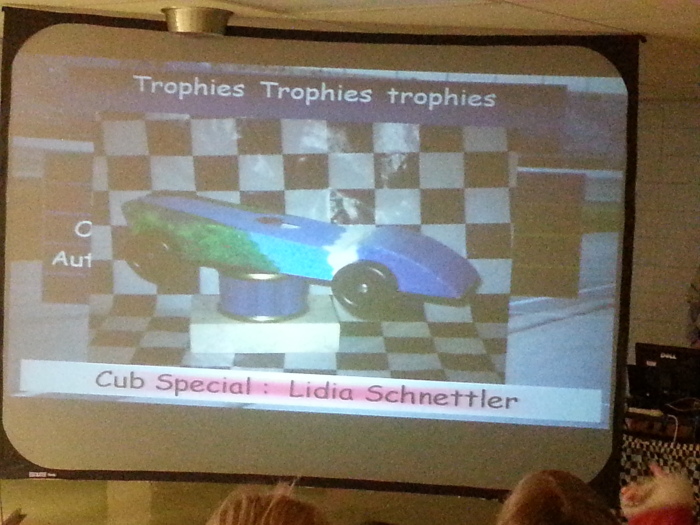
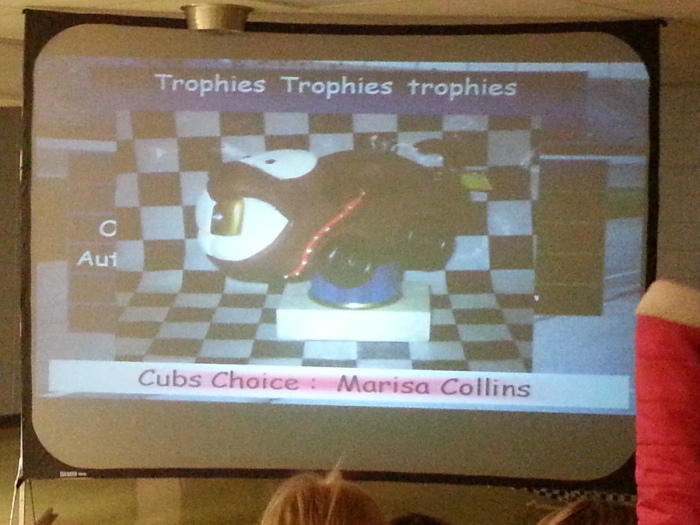
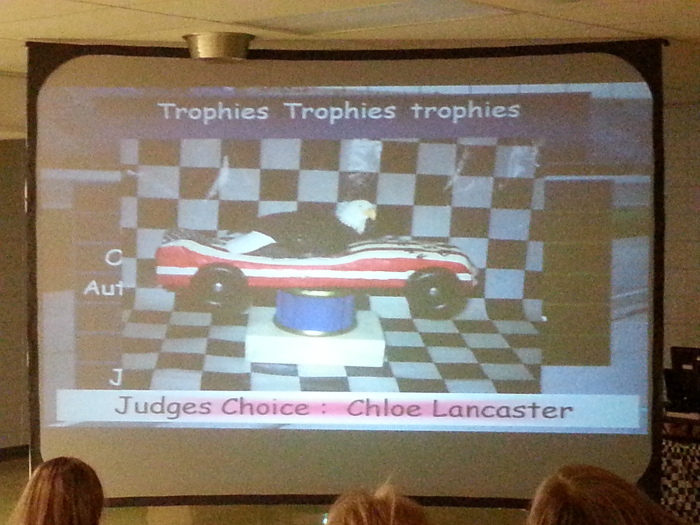
Here I am with my friends Alison (left) and Emily (right). Alison had the fastest car of the day for the girl scouts. Emily won best automotive design.
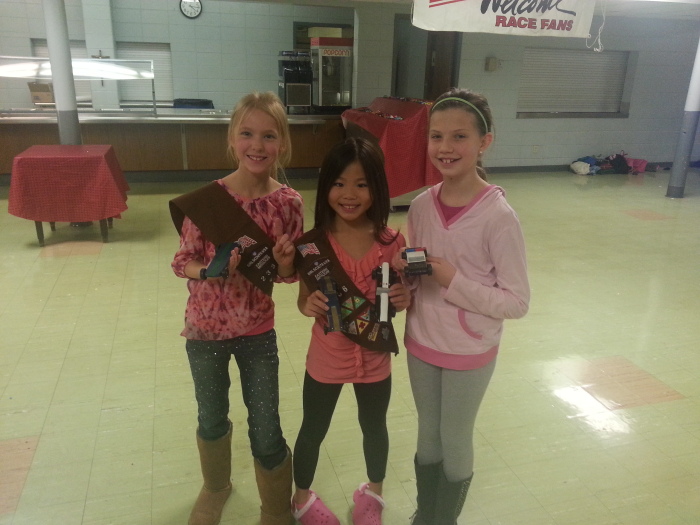
I won one of my races but didn't win any trophies. I was a little disappointed, but Daddy sure was proud of me and the work we did together. He said it was a good lesson in patience and teamwork and just doing a project that had to be done over time and took creativity and skill. I guess so. But I have to admit, I did have fun!
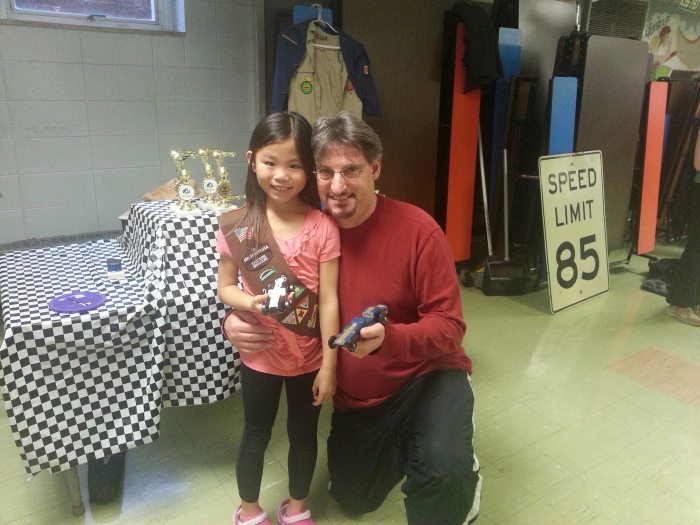
The event is the Saint Monica Girl Scouts Pinewood Derby held on January 27, 2013 at Saint Monica School. My car finished first place in the 5th race with a personal best time of 2.592 seconds down the track, just 0.09 seconds off the average pace of the fastest car of the day.
My Race Statistics:
Race 1. 3rd place - 2.2625 seconds, Lane 5
Race 2. 2nd place - 2.6230 seconds, lane 6
Race 3. 2nd place - 2.6377 seconds, lane 1
Race 4. 6th place - 2.6741 seconds, lane 3
Race 5. 1st place - 2.5920 seconds, lane 2
Race 6. 4th place - 2.6320 seconds, lane 4
I hope you enjoyed this journal about the 2013 Pinewood Derby as much as I enjoyed bringing it to you. Get ready for next year because I'm going to do even better!!
Love,
Lily
References (8)
-
 Response: structured settlement canadaHow do I post to my wordpress blog from my desktop, without 3rd party software?
 -
 Response: transmission repair Charlotte ncLily Beth - Pinewood Derby 2013 - Here's how we crafted my car for the 2013 Pinewood Derby and pictures from race day!
 -
 Response: glucosamine for dogsLily Beth - Pinewood Derby 2013 - Here's how we crafted my car for the 2013 Pinewood Derby and pictures from race day!
 -
 Response: arthritis in dogsLily Beth - Pinewood Derby 2013 - Here's how we crafted my car for the 2013 Pinewood Derby and pictures from race day!
 -
 Response: bit.lyLily Beth - Pinewood Derby 2013 - Here's how we crafted my car for the 2013 Pinewood Derby and pictures from race day!
 -
 Response: funnysportsblogLily Beth - Pinewood Derby 2013 - Here's how we crafted my car for the 2013 Pinewood Derby and pictures from race day!
 -
 Response: left footLily Beth - Pinewood Derby 2013 - Here's how we crafted my car for the 2013 Pinewood Derby and pictures from race day!
 -
 Response: left footLily Beth - Pinewood Derby 2013 - Here's how we crafted my car for the 2013 Pinewood Derby and pictures from race day!

Reader Comments